How to Install a Toilet

Are you about to install a new toilet? Replacing a toilet is a simple project that anyone can do!

Before installing a toilet, you must measure your bathroom toilet's rough-in. The rough-in is the distance from the toilet bolts and the wall behind your toilet. The bowl shape is also important to consider. If you install an elongated bowl in a narrow bathroom, things might be a little uncomfortable.

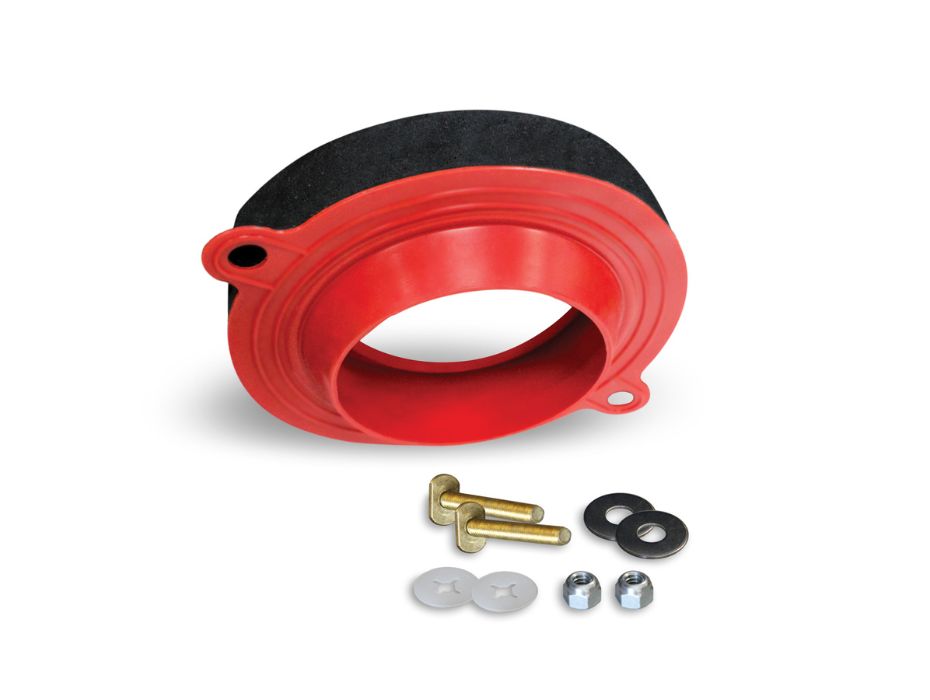
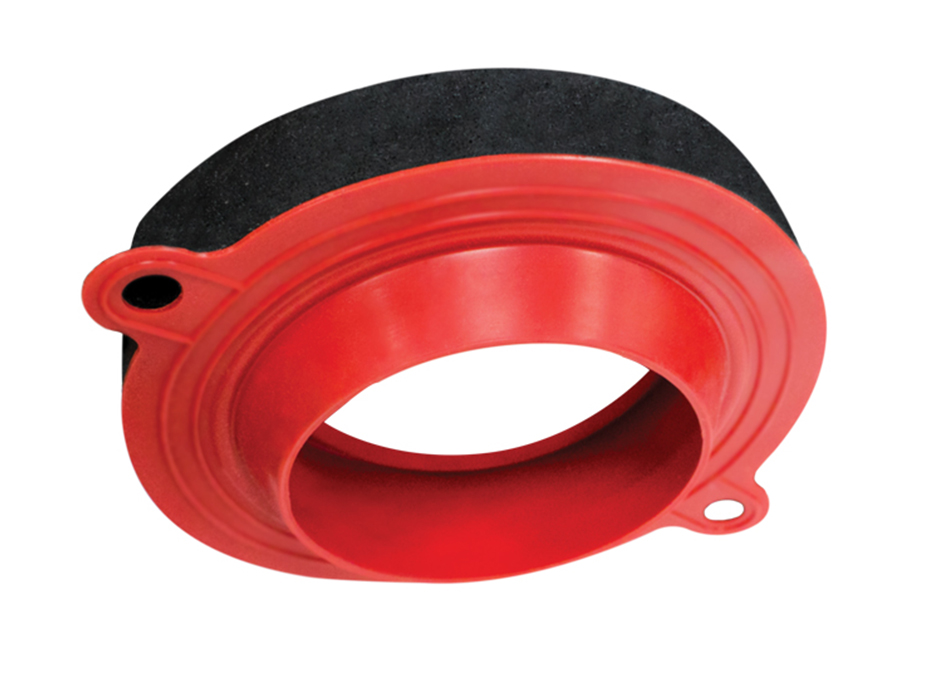
Choosing the right seal between the floor and the base of our toilet is another important thing to consider. While wax rings are a popular toilet seal, wax-free seals are better than wax for beginners. They allow multiple attempts to set the toilet on the floor drain. A wax seal is ruined if the toilet is not set correctly on the first attempt.

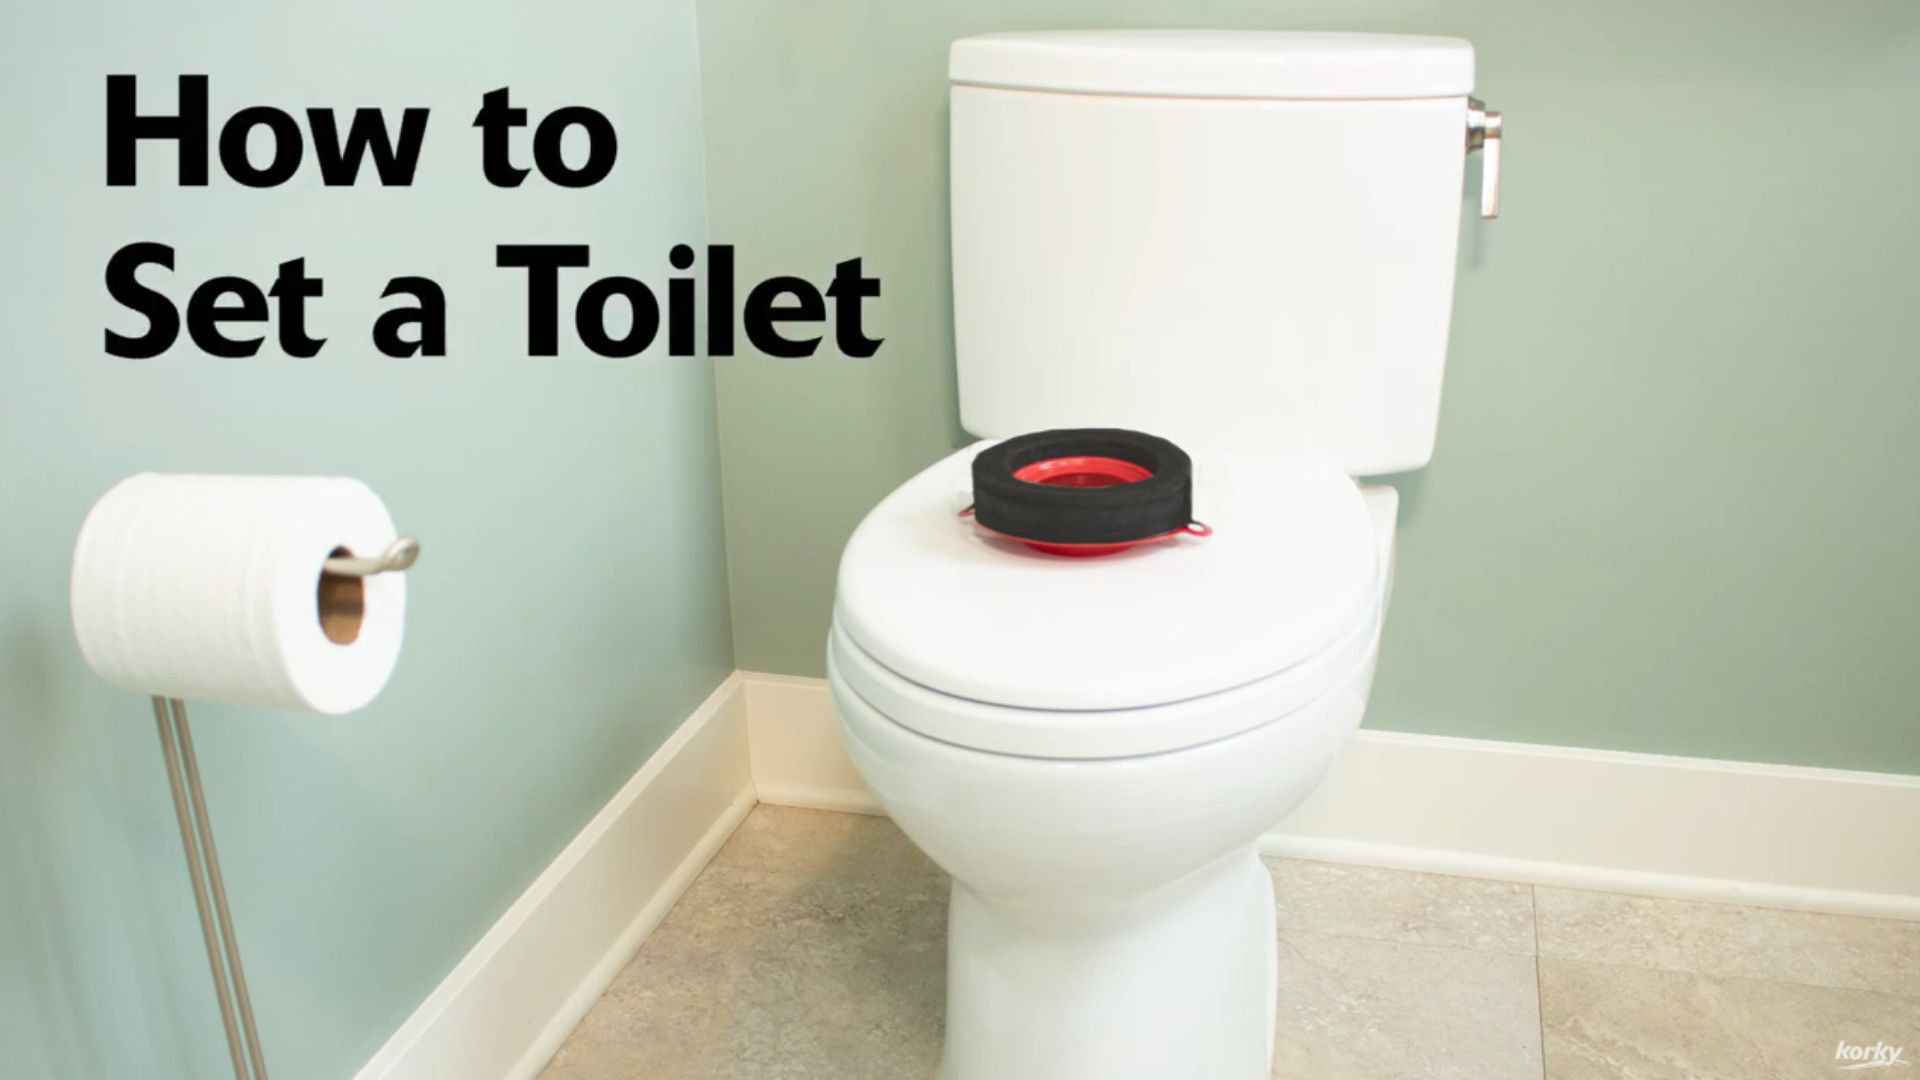
how to set a toilet video thumbnail
Does this describe your toilet issue?

Measure the Space Around Your Toilet

Measuring the space around your toilet is crucial before making your purchase. Stores do not allow returns of toilets once a customer opens the packaging for sanitary reasons. This could lead to an expensive mistake.

You can find a toilet's rough-in measurement by measuring from the toilet bolts to the bare wall. The standard rough-in is 12", but they are sometimes 10" or 14".
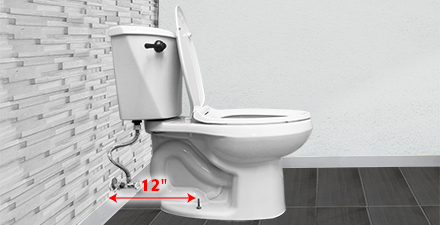
how to measure a toilets rough-in 

Once you know your toilet's rough-in, consider the bowl shape and how it would fit your space. Toilet bowls come in two shapes, round and elongated. If you have a narrow bathroom, you might want a round bowl.

Remove the Old Toilet

When you are ready to install your new toilet, turn off the water supply valve. Then, flush the toilet to remove as much water as possible from the tank and bowl. Sponge out any water left in the tank.
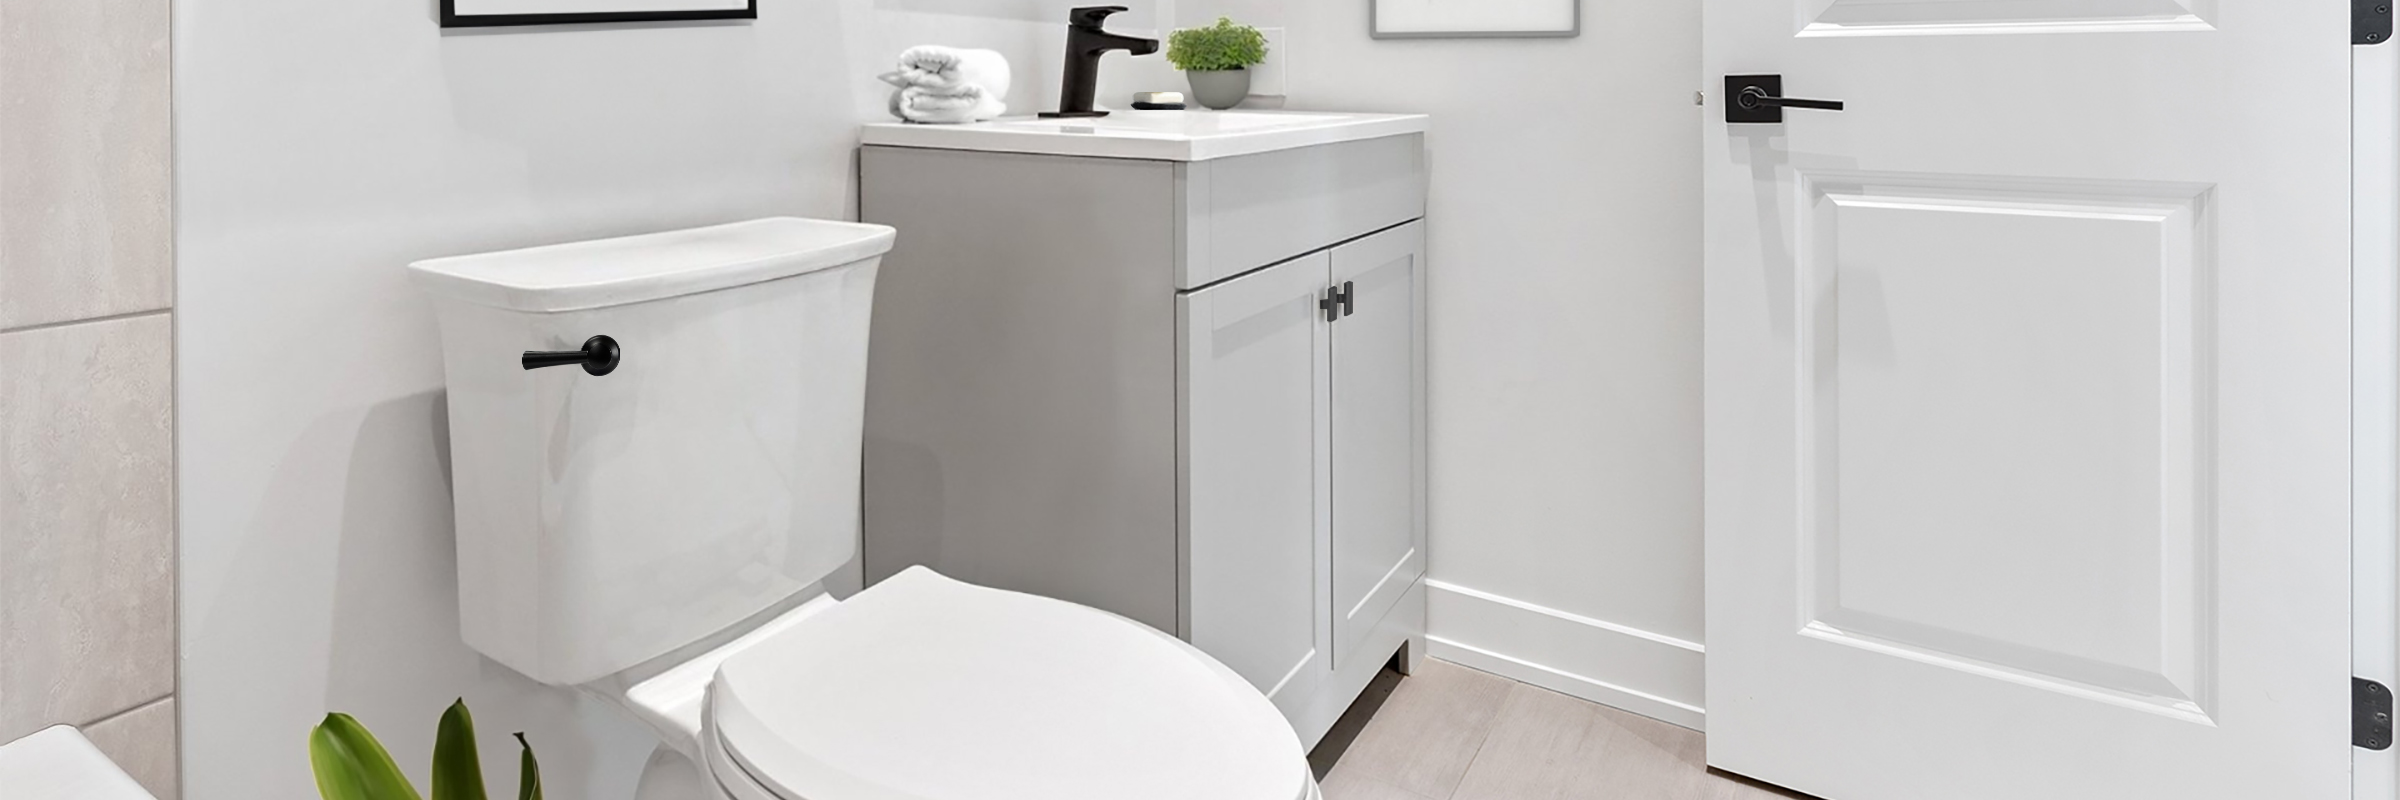
turn off the water supply line

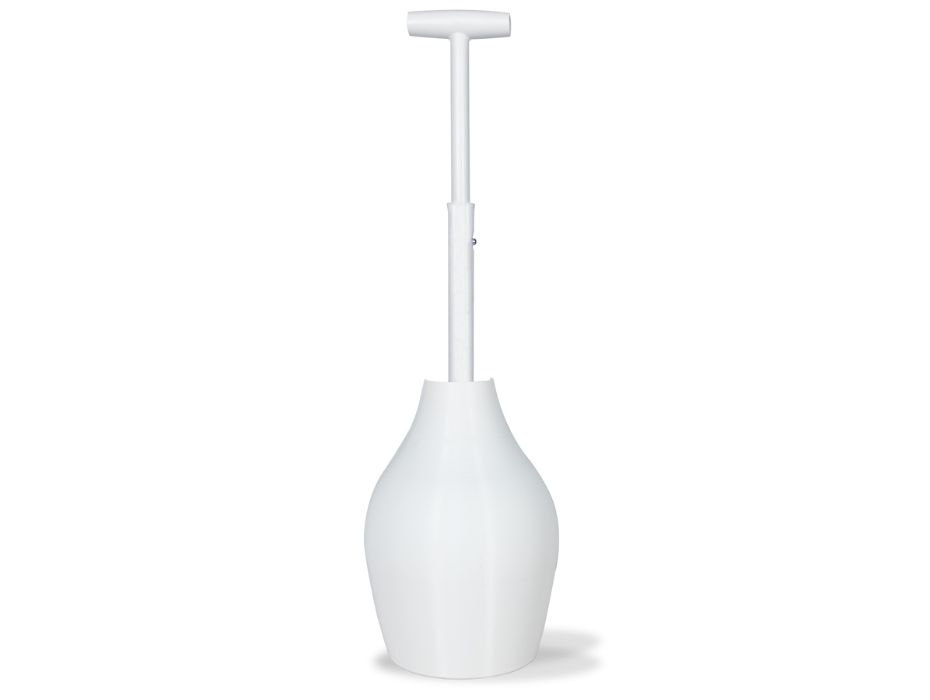
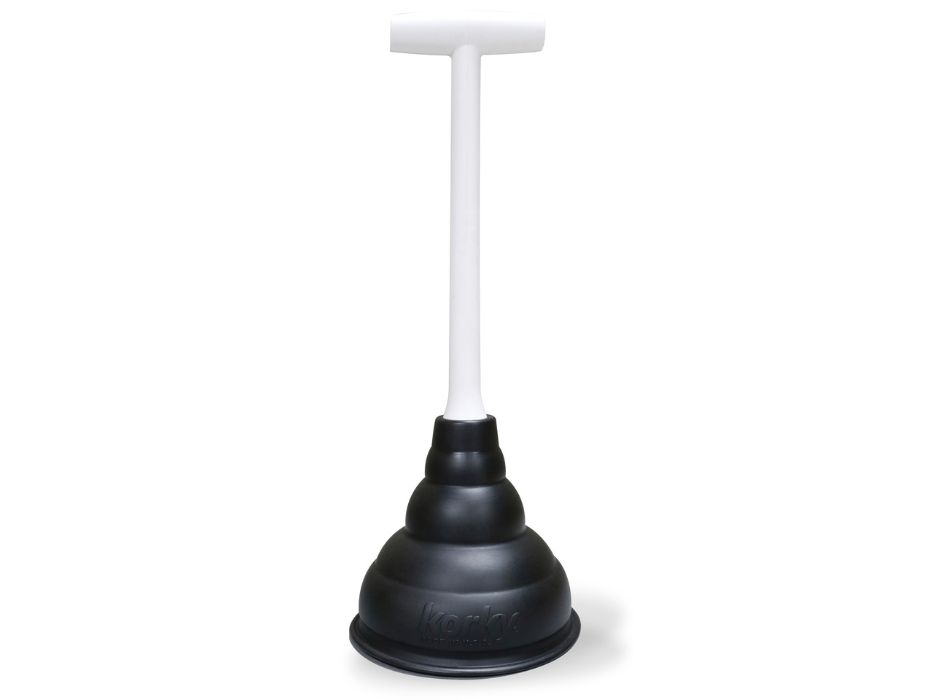
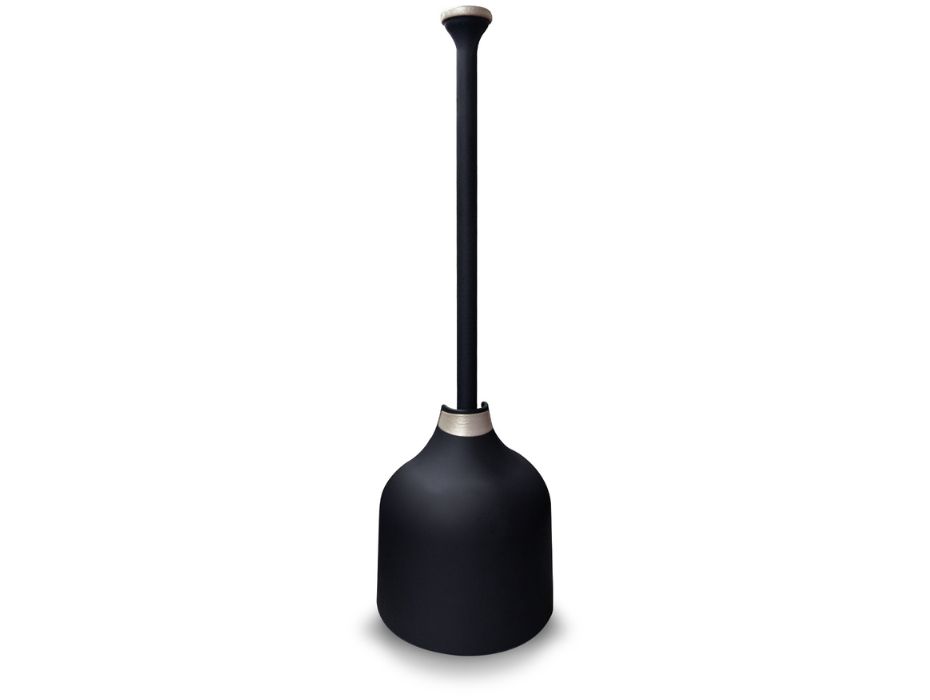
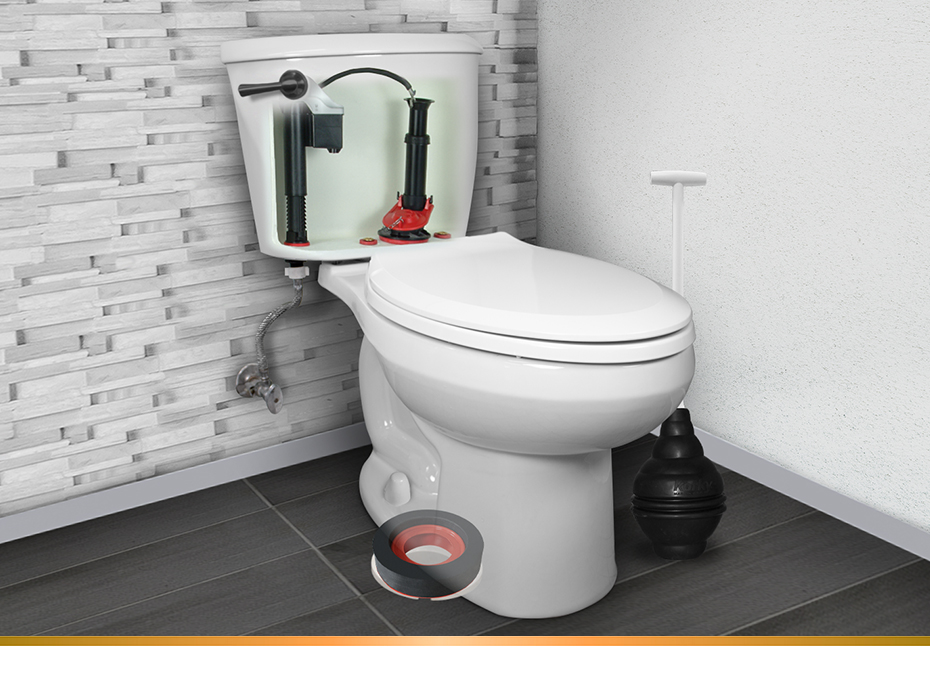
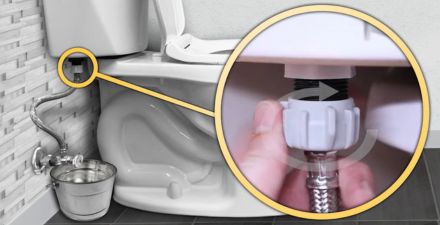
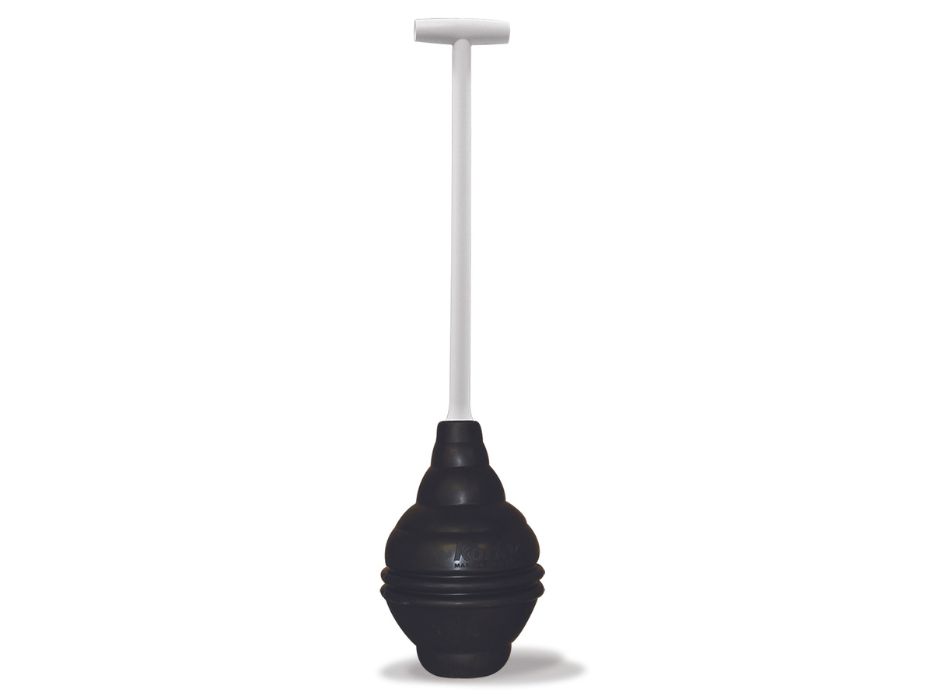
Next, place a bucket under the tank and disconnect the water supply line from the fill valve. Let the excess water drain into the bucket. Next, use a plunger to remove the remaining water in the toilet bowl. We recommend using the Korky Beehive Max.
disconnect the water supply line

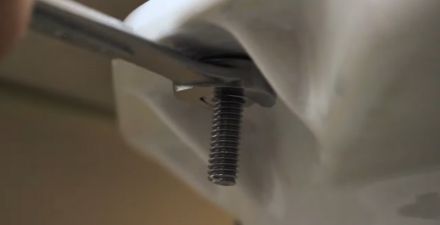
Before you start, put gloves and eyewear on to avoid unwanted contact with waste. Next, remove the bolt caps from the base of the toilet and loosen the nuts with an adjustable wrench. Once you remove the nuts, remove the toilet from the flange.

We recommend completing this step with help, as toilets can be heavy. If you are working alone, we suggest removing the tank from the bowl to make removal easier. This can help prevent injuries.

Clean and Prepare the Toilet Flange

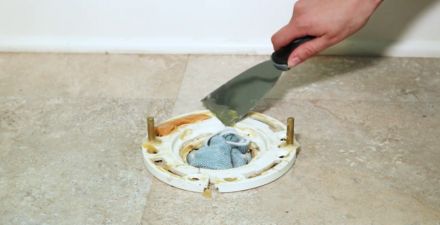
Now that you have the old toilet removed, stuff a rag into the drain pipe hole to prevent sewer gas smell and unwanted objects from falling into the drain. Then use a putt or utility knife to scrape away the old wax to replace the toilet seal.
clean toilet flange

Inspect the flange for cracks or defects. If you notice cracks or damage, you must replace it with a new flange. We do not recommend using a sealant.
Install the New Base

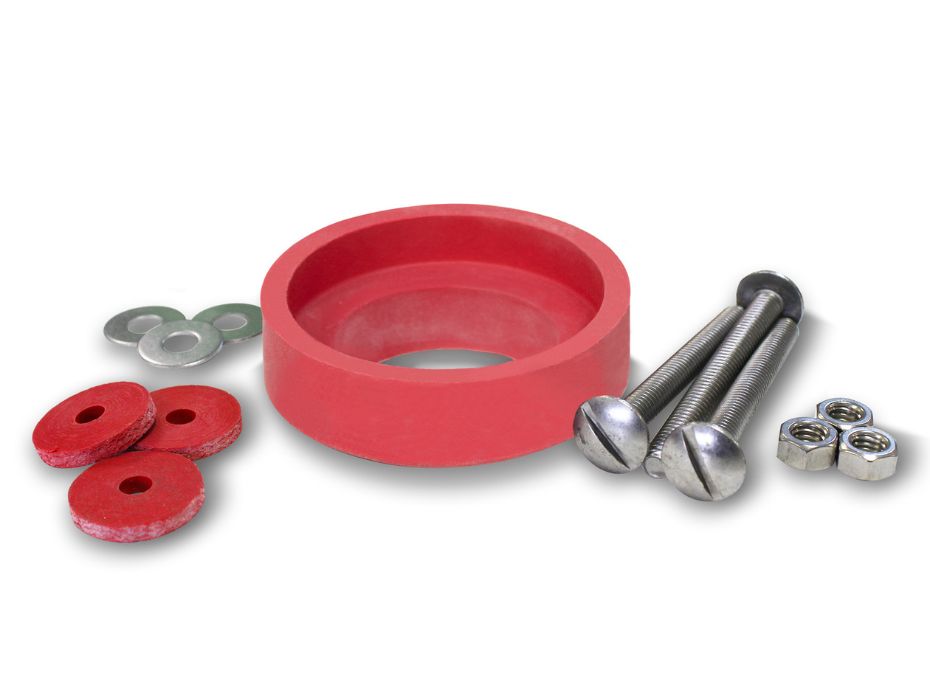
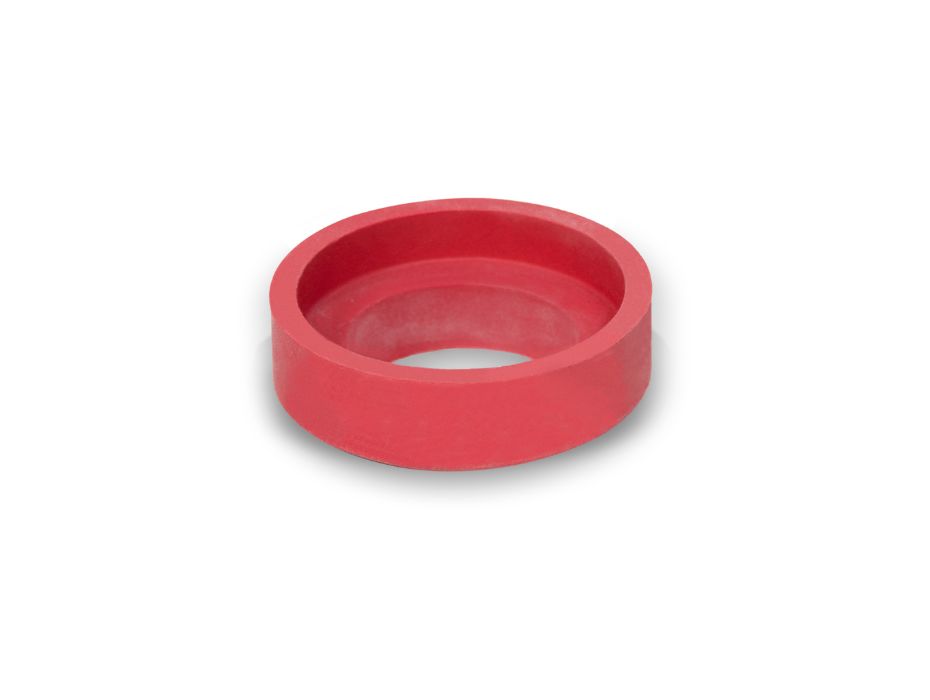
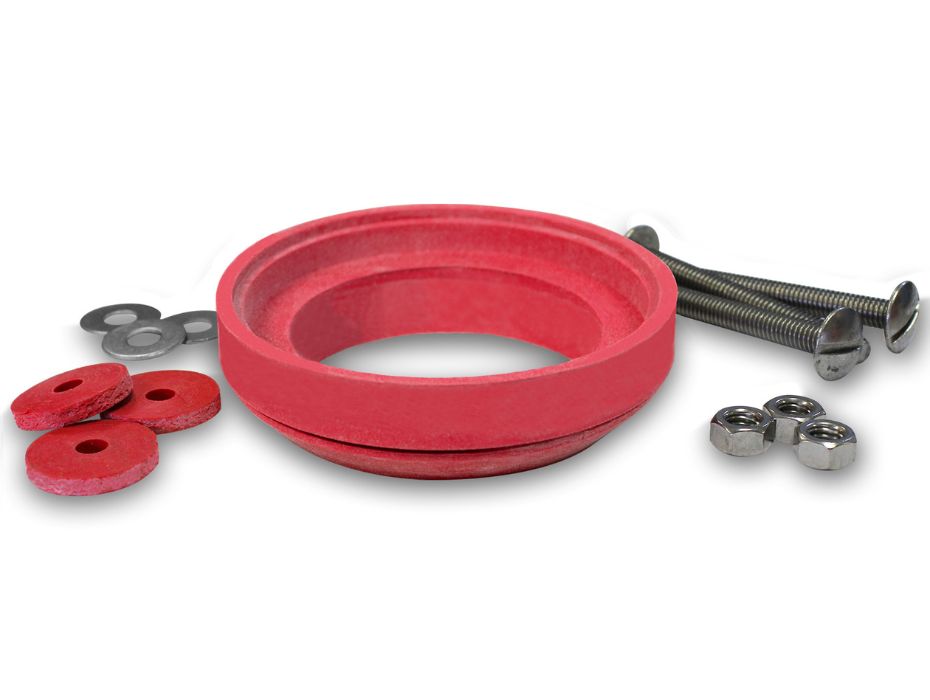
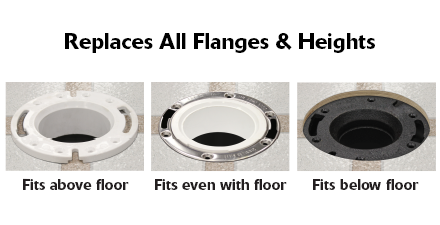
To install your toilet with a wax-free seal, determine if your flange is below, even, or above the floor. This will determine which rings you should use.

this image shows different flange heights

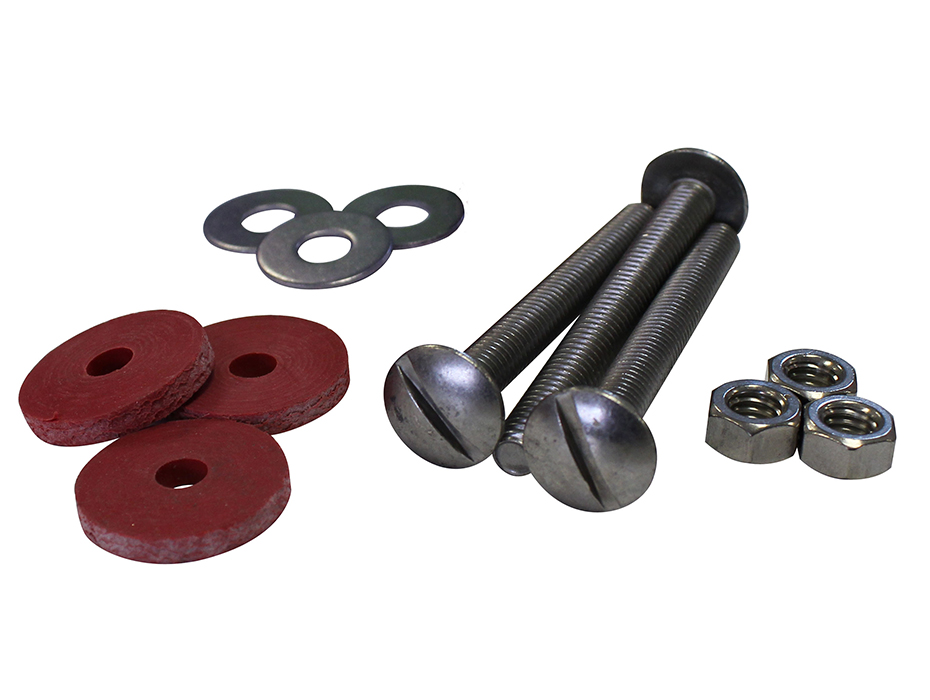
Then take the rag out of the drain and install new toilet bolts, washer and nuts, and wax-free seal assembly on the closet flange. Next, lift the toilet onto the gasket seal and check for alignment. If your floor is uneven, use shims to allow your toilet to sit flat.

If it is aligned, tighten the nuts (alternate sides while tightening). Install the closet bolt caps by snapping them into place (you may need to use a hacksaw if the bolts are too long).

We do not recommend using caulk around the base. If there is a leak, the caulk will make it go unnoticed. If you do use caulk, leave the back uncaulked so water has a path to escape.

Install the New Tank

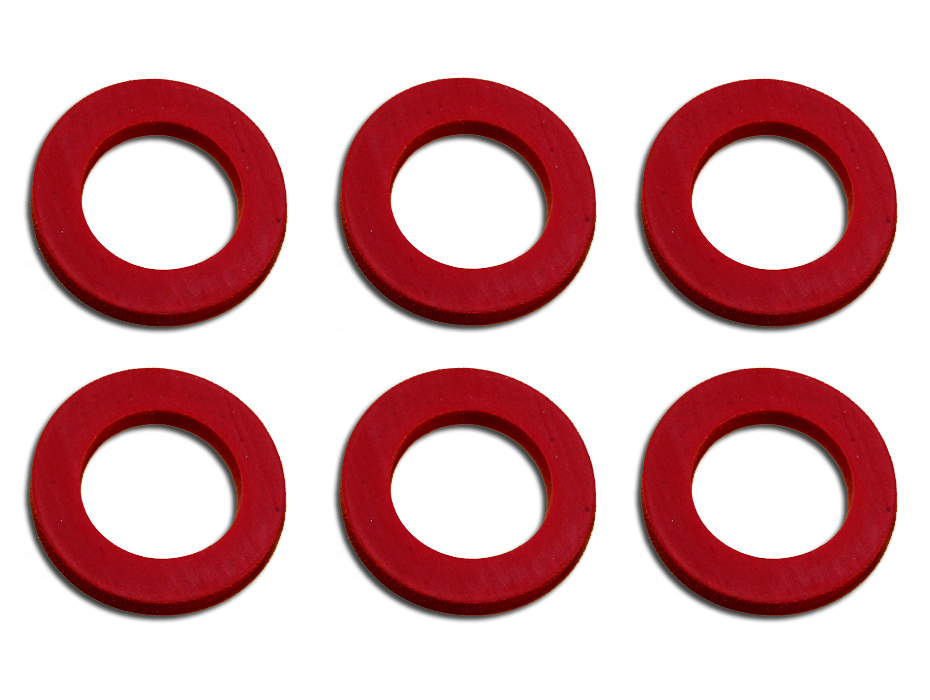
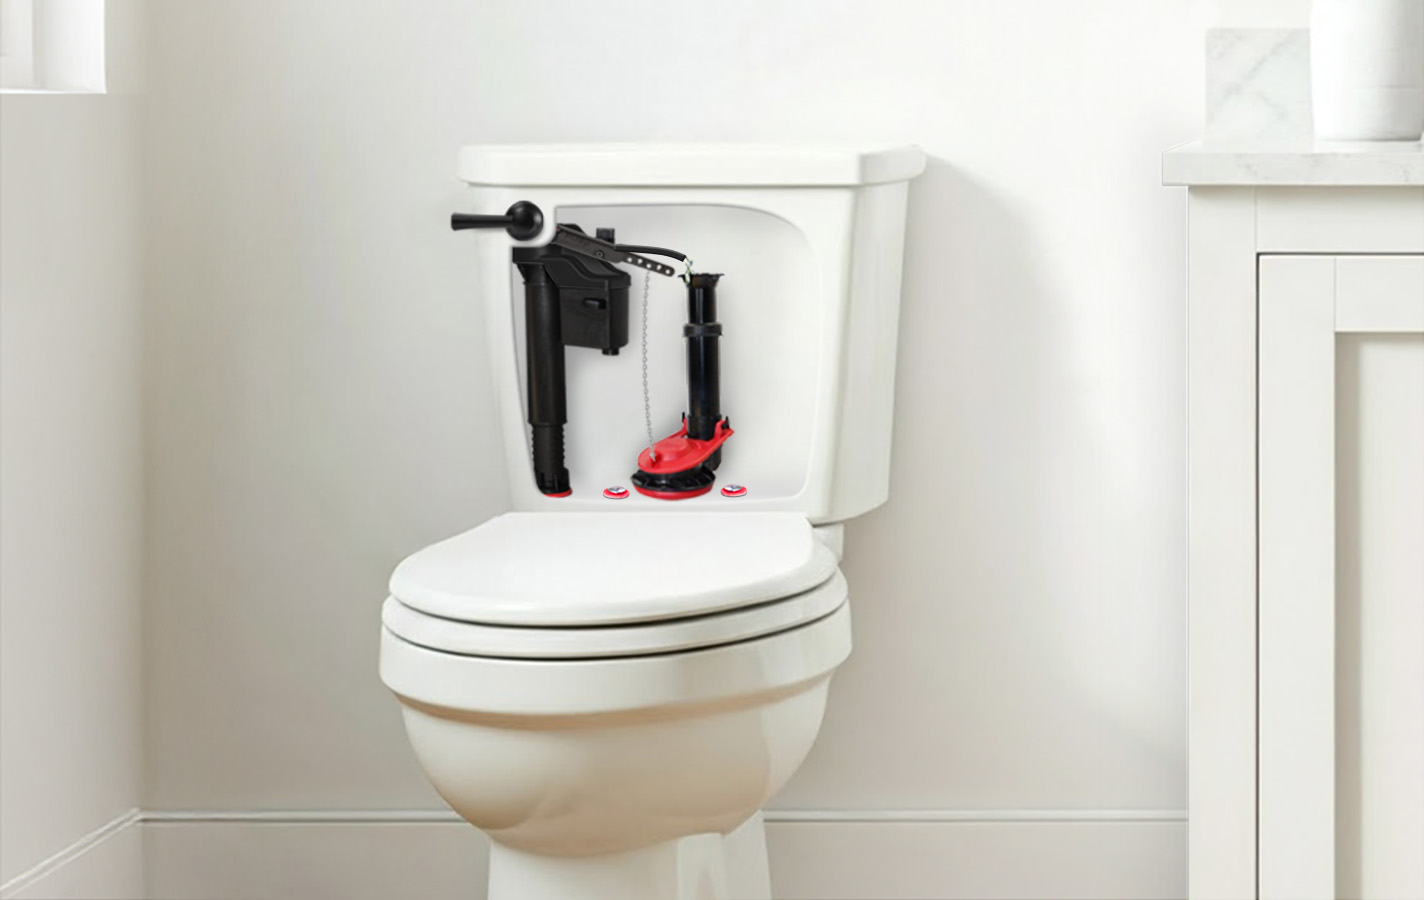
Installing the new tank is simple. Place the tank-to-bowl gasket over the bottom of the flush valve, then set the tank on the base. When tightening the bolts, have a friend hold the toilet and apply even pressure to the tank (alternate sides while tightening). Be sure not to overtighten - porcelain cracks easily!

tighten the tank bolts

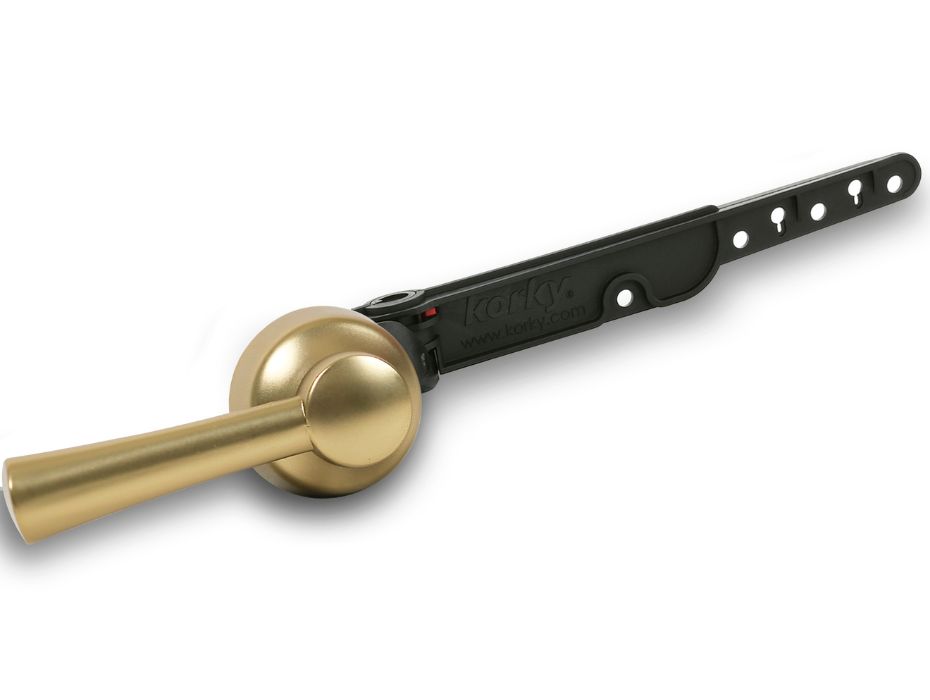
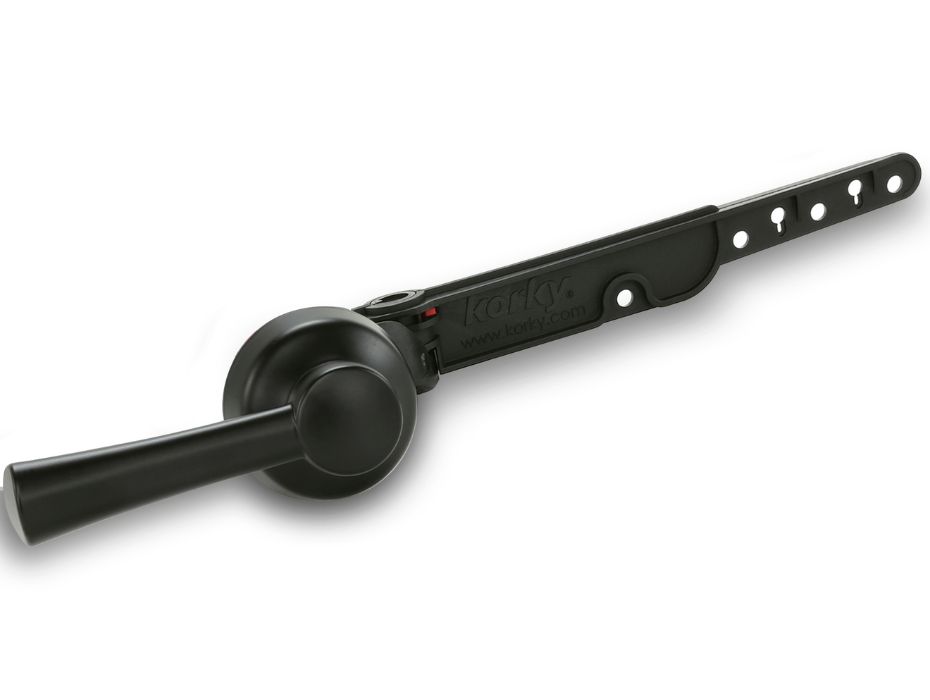
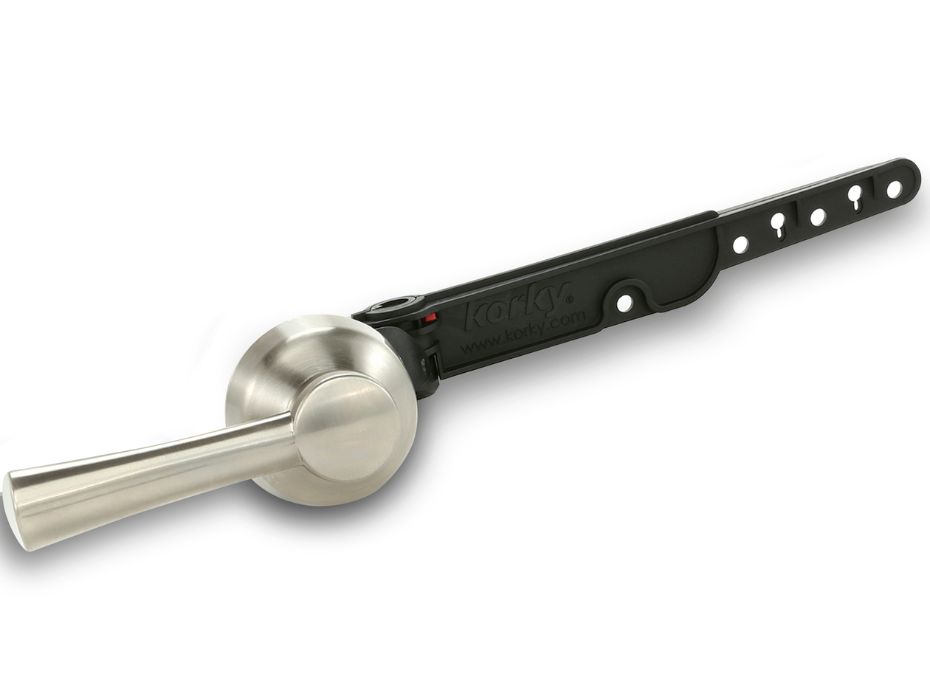
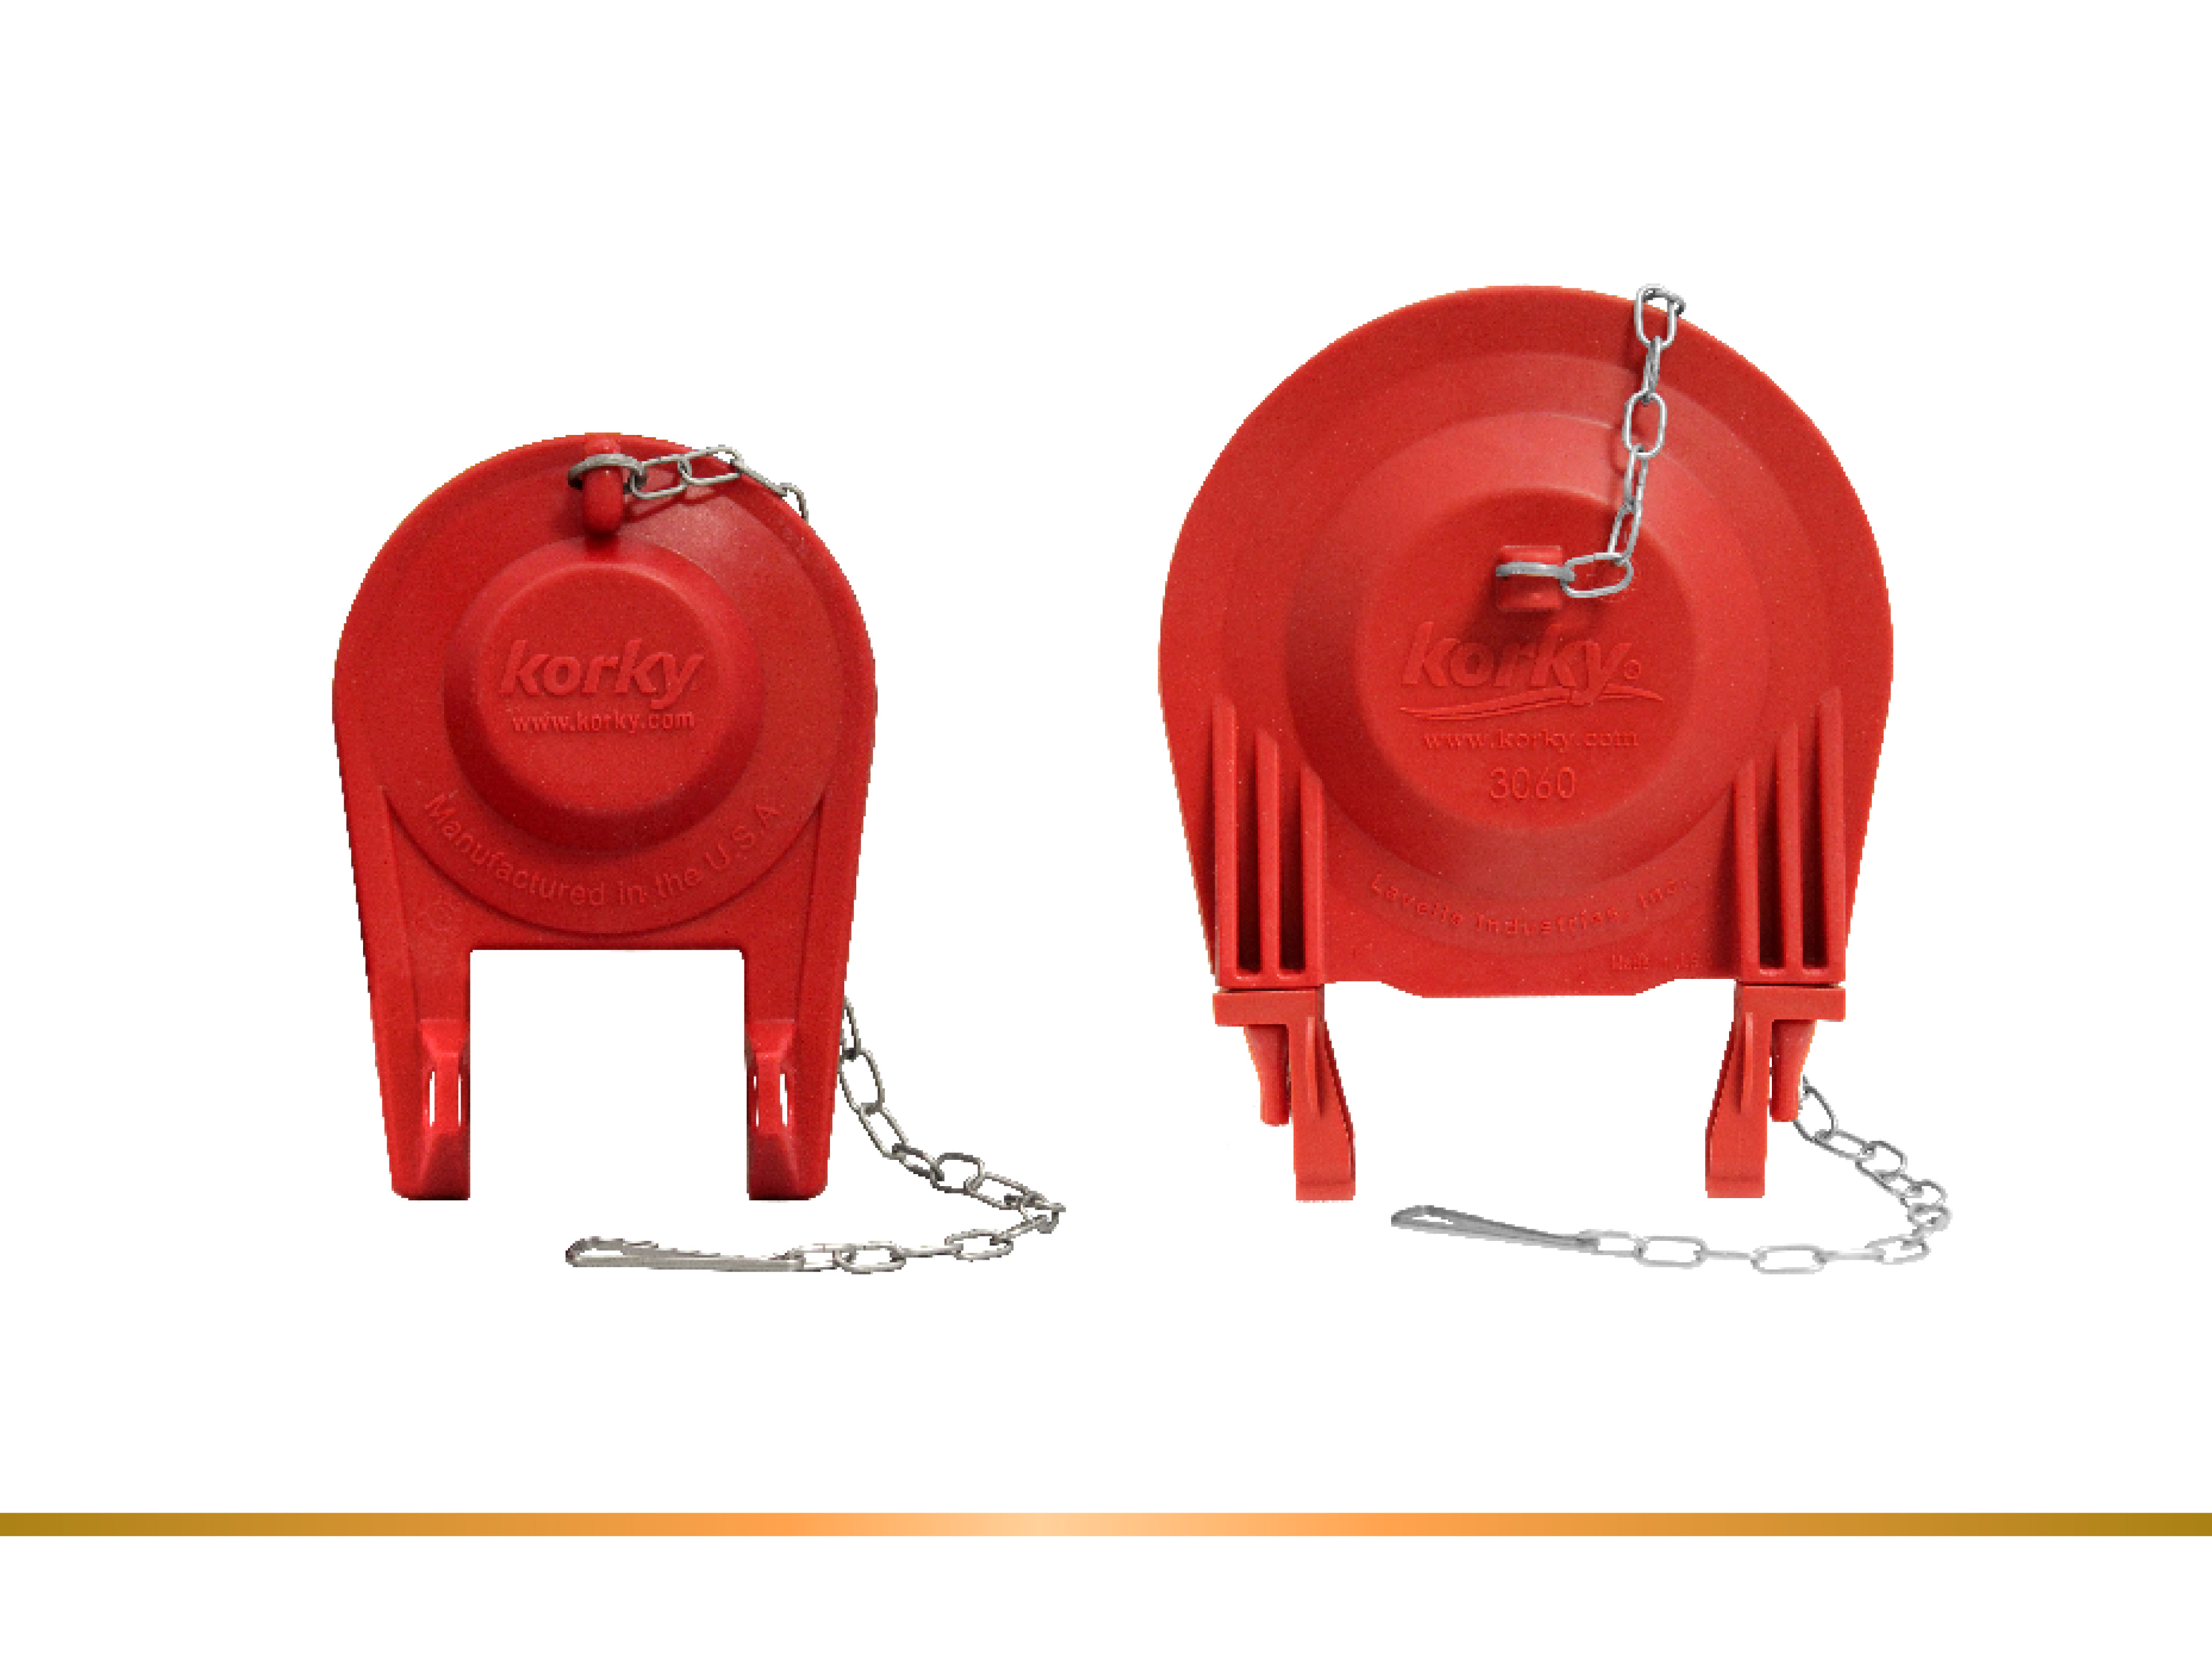
If you are looking to upgrade the toilet handle to match your fixtures better, or you plan on remodeling, we recommend StrongARM toilet handles. If you like the current lever, connect the flapper chain to the arm.

Turn on the Water Supply Line

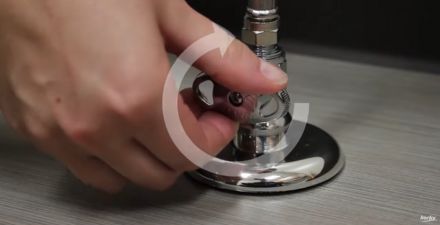
The last step of installing a new toilet is to connect the water supply line. Next, attach it to the bottom of the fill valve. Turn the water supply on slowly.

turn on water supply line

Be sure to inspect the base of the tank while it is filling for leaks. Do a few test flushes and watch the bottom of the toilet. If there are no leaks, place the tank lid on and enjoy your new toilet.

how to set a toilet video thumbnail