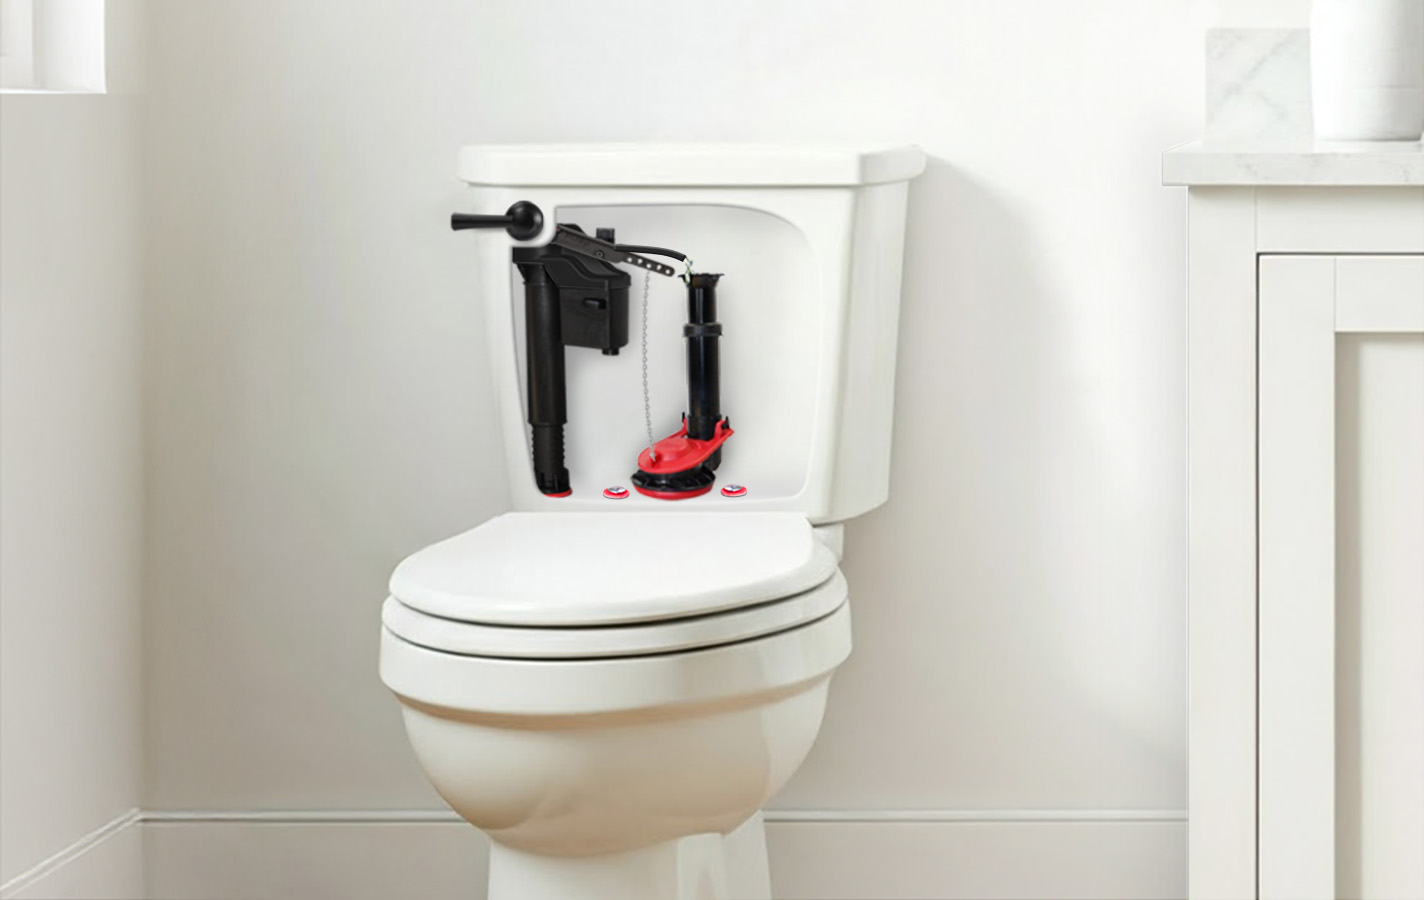
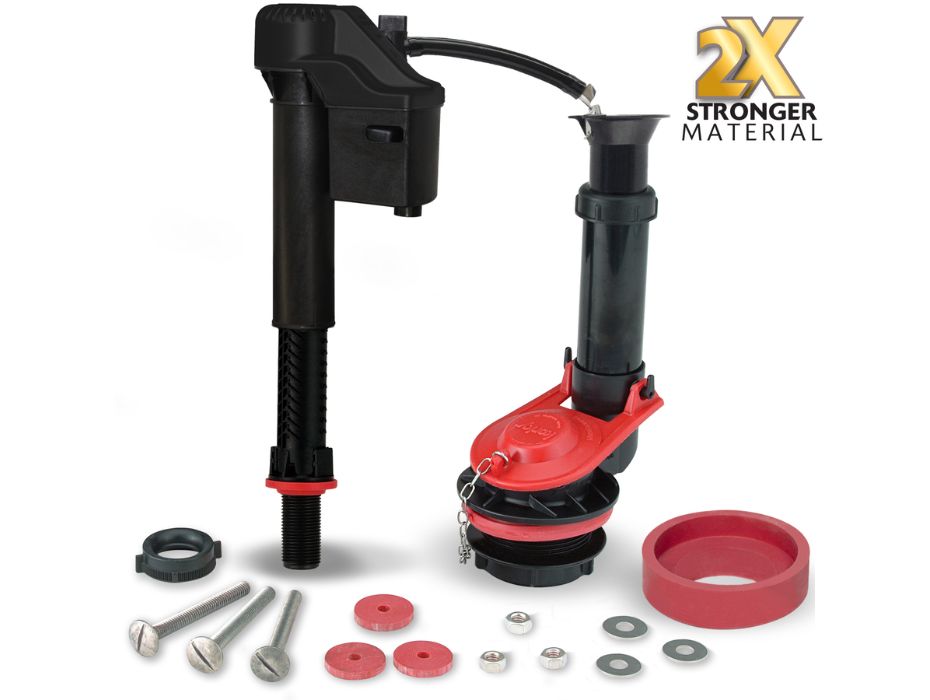
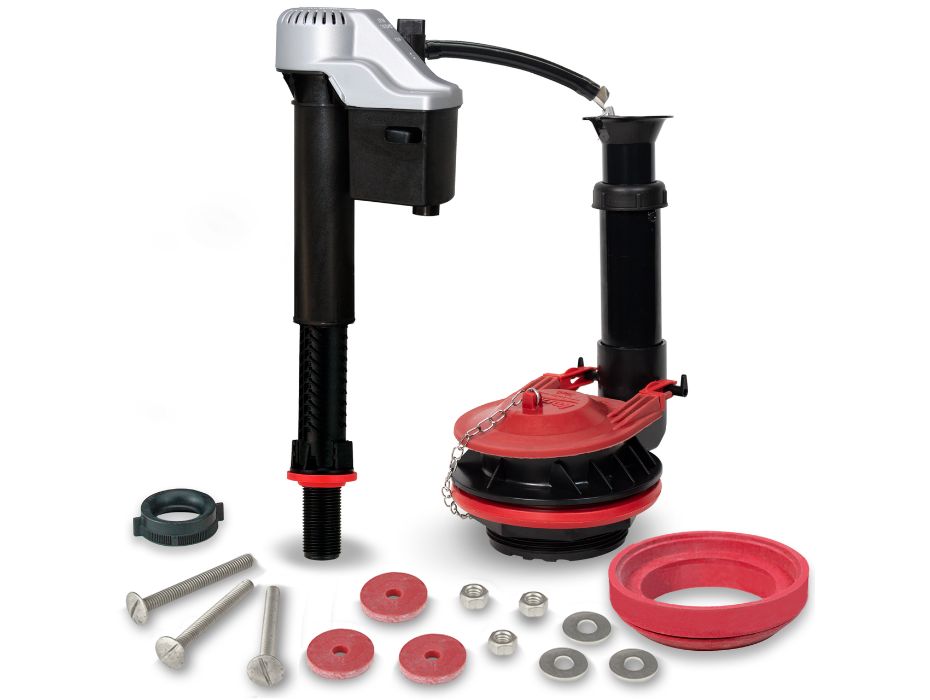
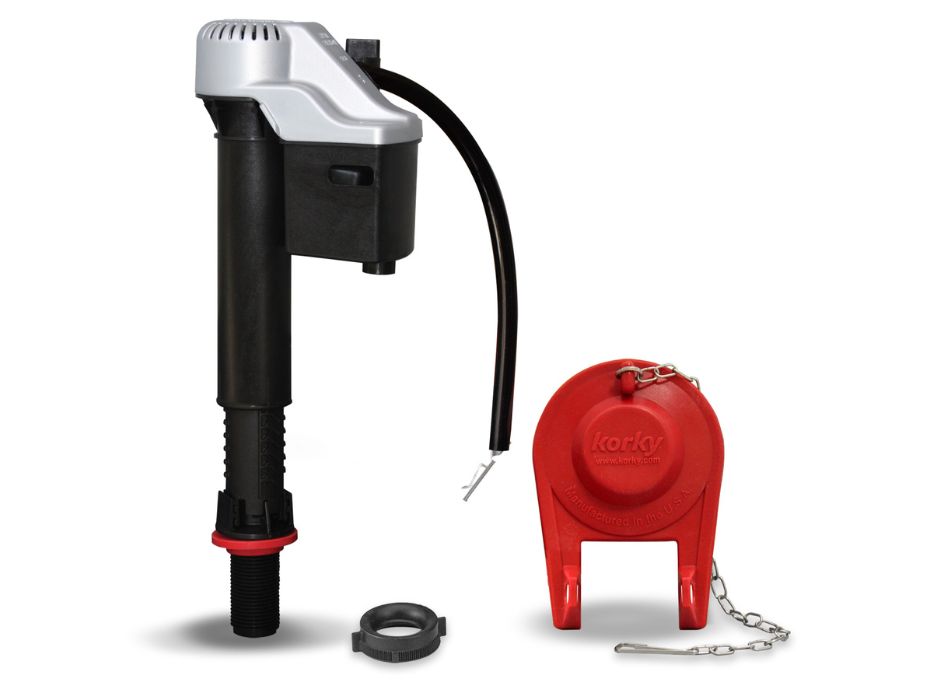
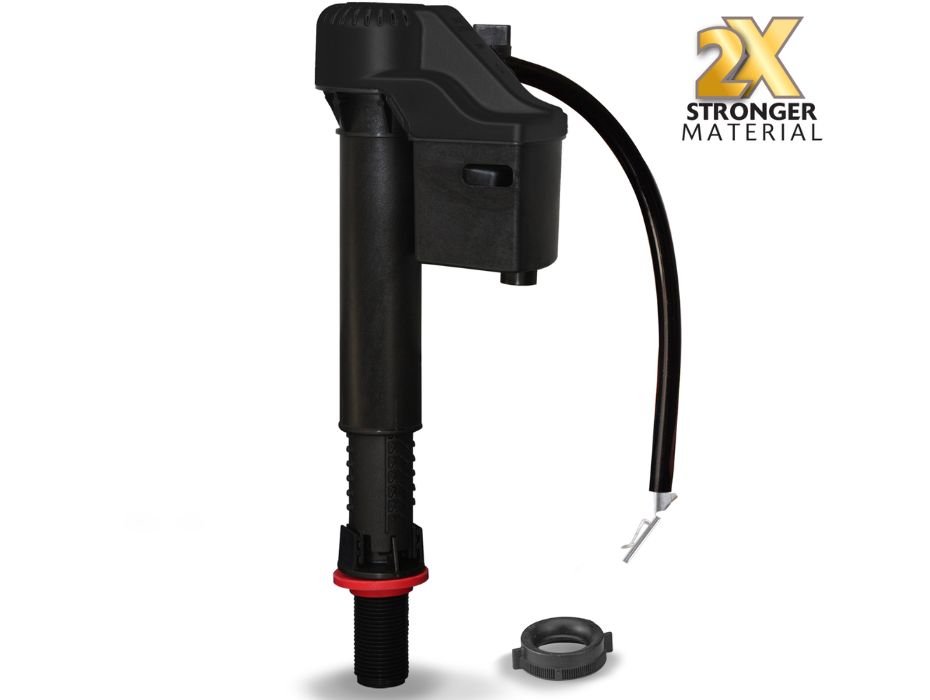
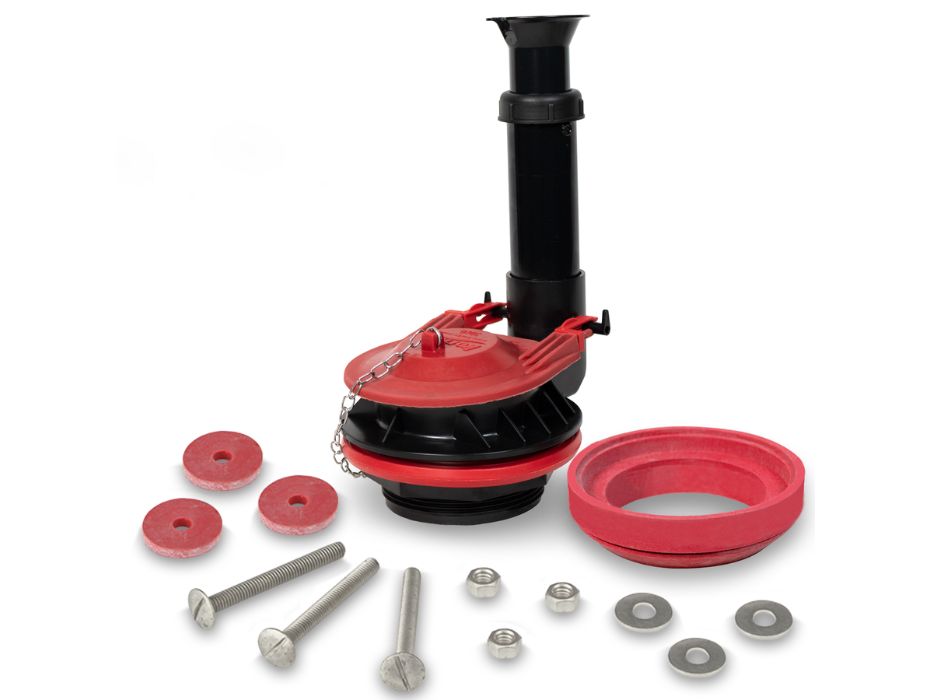
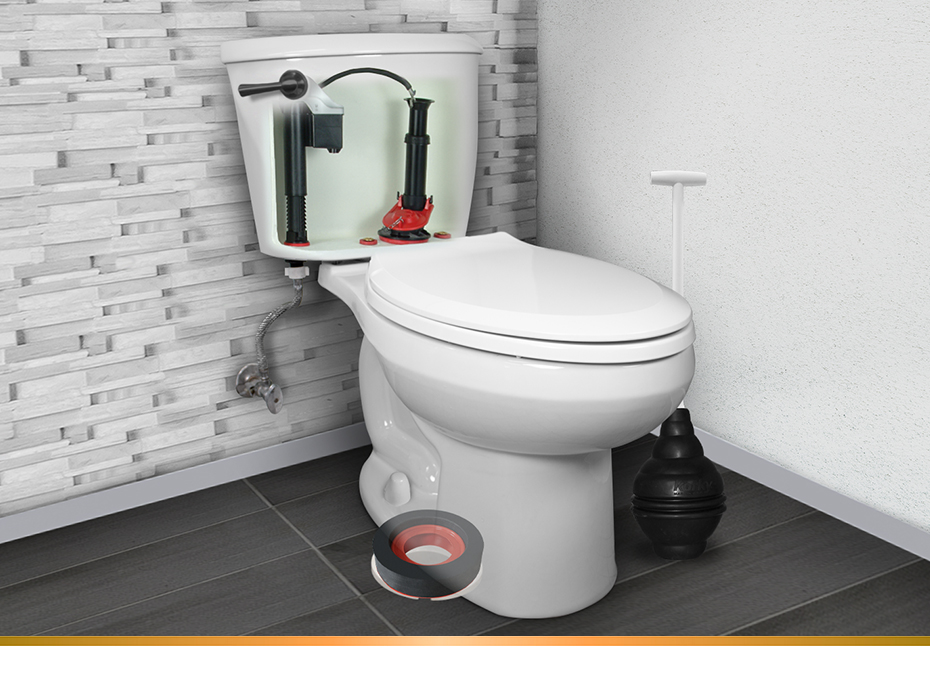
How to Install a Flush Valve

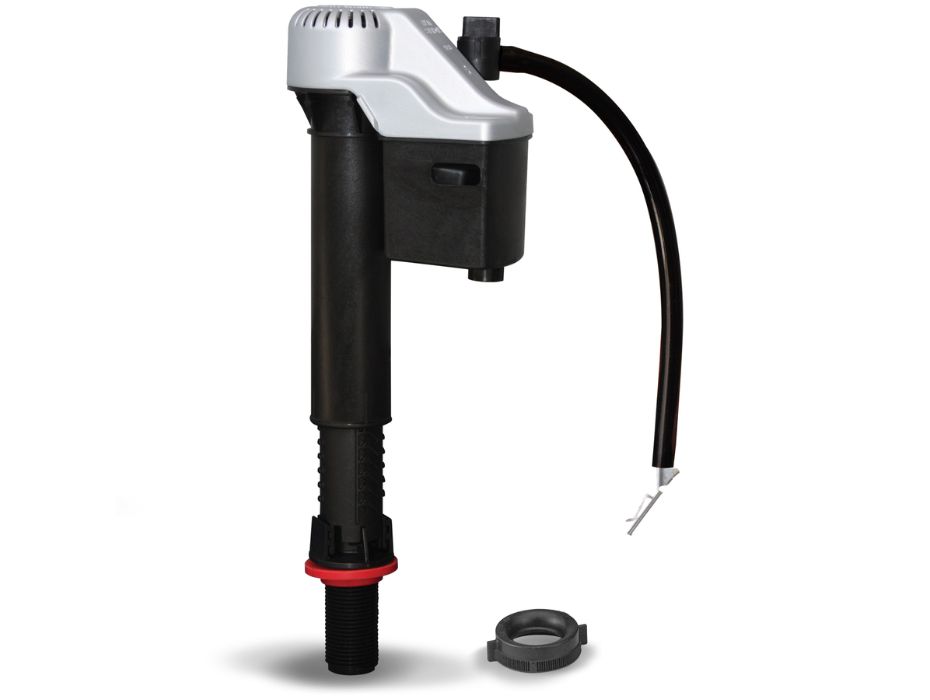
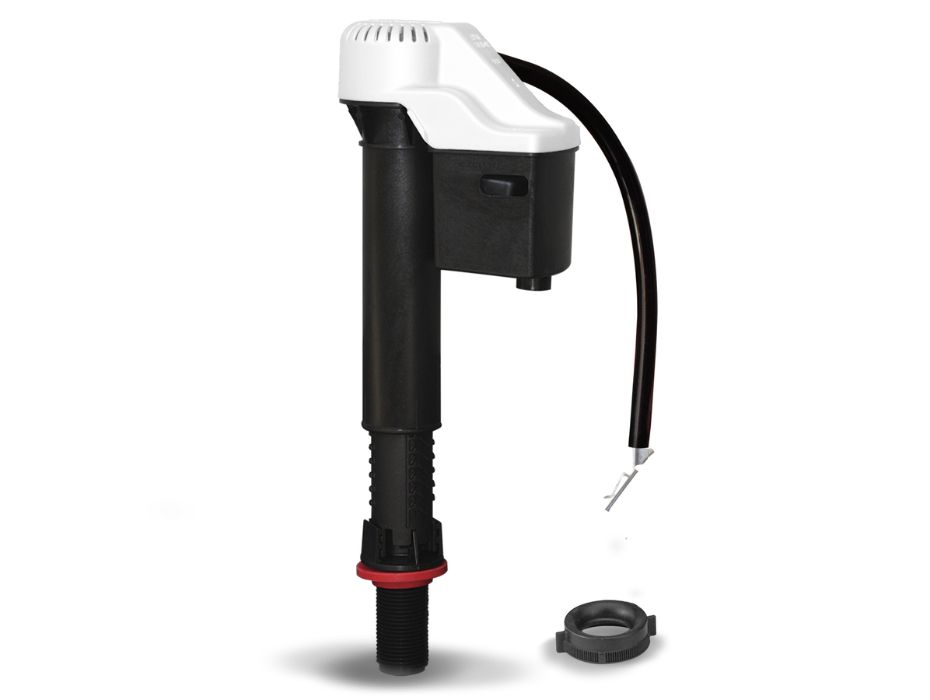
Is your flush valve leaking? Over time, your valve can become cracked or damaged, creating a pathway for water to leak. When this happens, it is time to replace your flush valve.

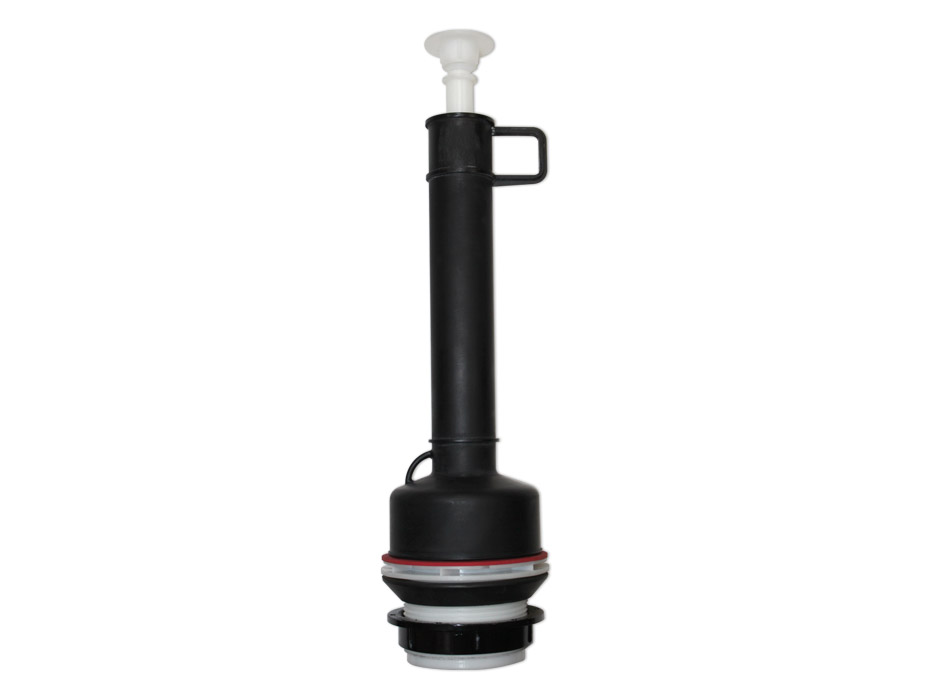
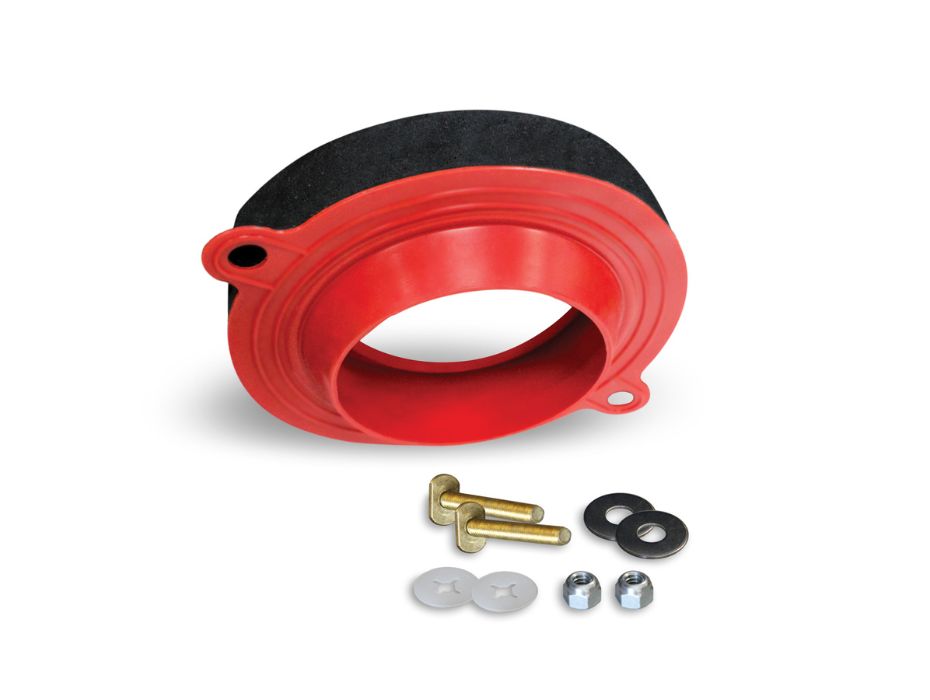
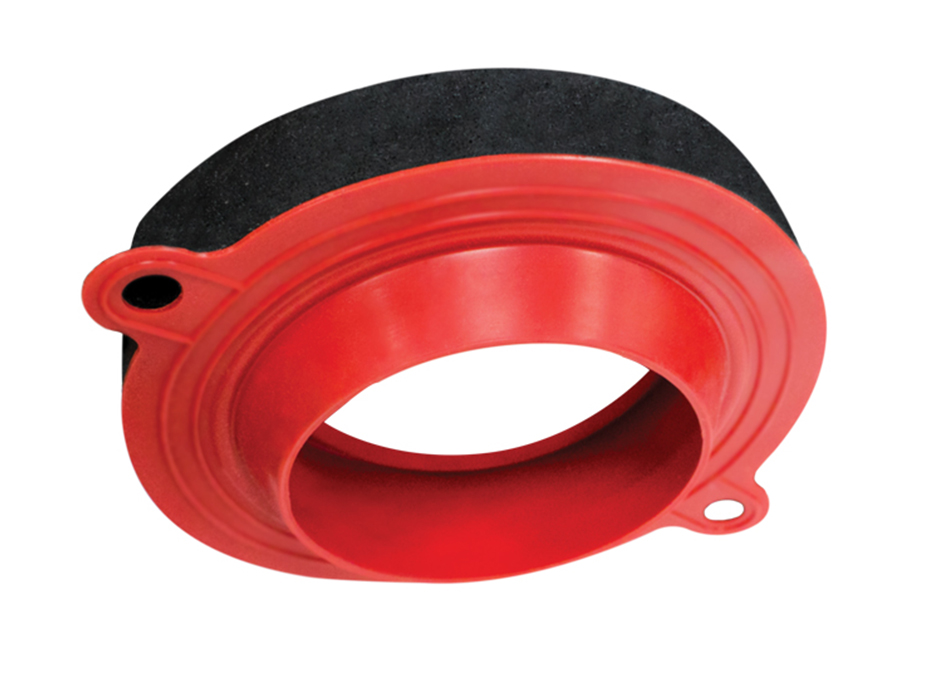
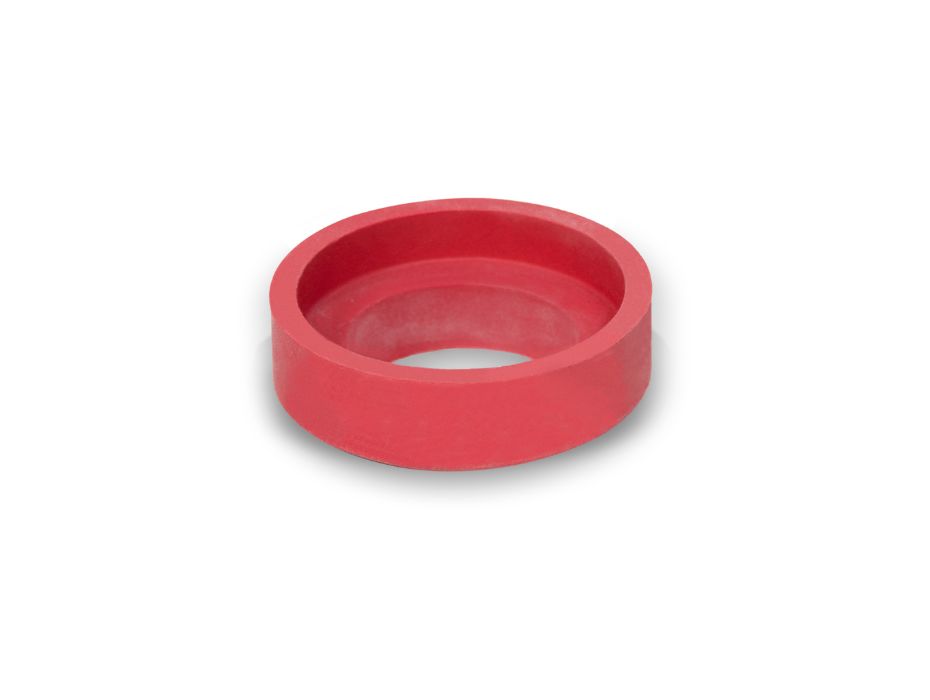
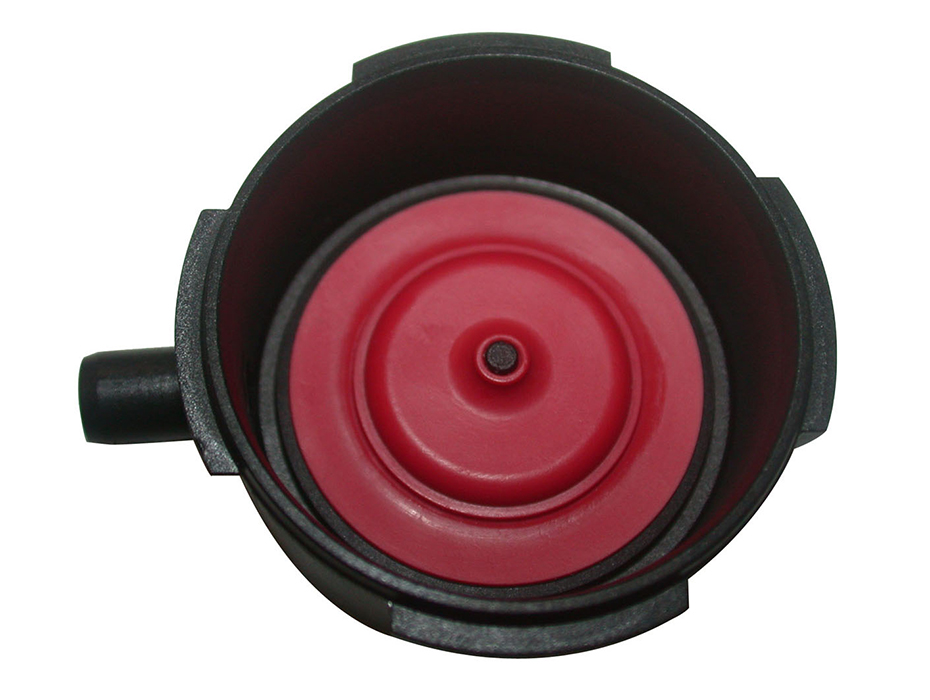
The flush valve controls the flow of water between the tank and the bowl. The flapper is the most commonly replaced part of the flush valve because the rubber can deteriorate and warp over time. When this happens, it causes a running toilet and water waste.

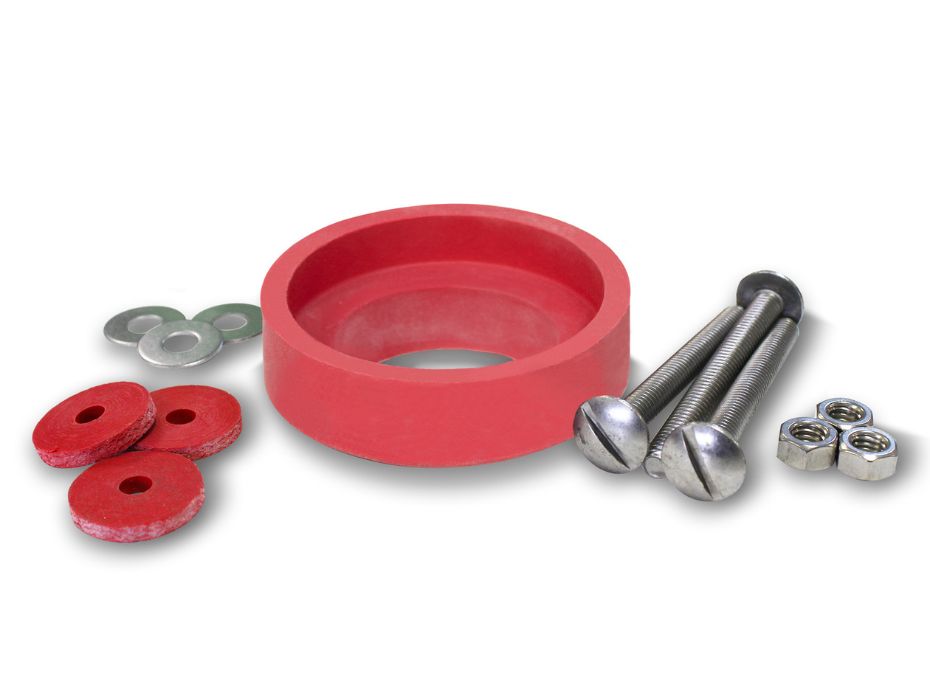
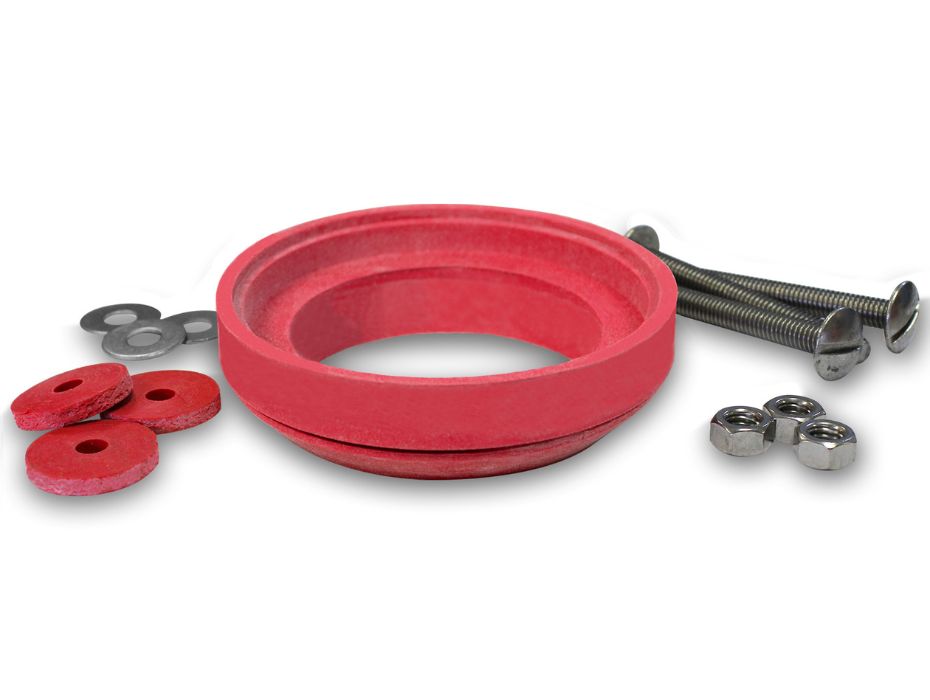
In less common cases, your flush valve can develop cracks. Once this happens, you must replace the toilet flush valve with a new one to repair your toilet. You can easily learn how to change the flush valve in your toilet, so let's get started!

Does this describe your toilet issue?

Measure the Flush Valve Opening

Toilets have two different size valve openings, standard 2-inch, and large 3-inch. If your toilet was made before the year 2000, you will likely need a 2-inch valve. If your toilet was made later, you might need to get a large 3-inch flush valve.

Normally toilet flappers are the first part to wear out, so replacing your flapper is more common. Since replacing a flush valve is less common, we recommend replacing the fill valve and flush valve at the same time. The Korky Quietfill Platinum Complete Kit is the best toilet repair kit for standard two-inch flush valve openings. 

Remove Water from the Tank

Once you have the right size flush valve, start by shutting off the water supply. Once the water is off, flush the toilet as you normally would. When the water level settles, mark the level with a pencil. This line will help you see if your flapper settings are correct later.

When you are finished marking the line, flush and hold the handle down to drain the rest of the water in the tank. Grab a bucket and place it under the water supply line connection on the tank. When you disconnect the water supply line, use the bucket to catch any remaining water in the line. If there's extra water in the tank, use a sponge to soak up the remaining water.

Remove the Old Flush Valve

To remove the old valve, detach the tank from the bowl by loosening the nuts and bolts with a screwdriver and adjustable wrench. Next, remove the sponge gasket from the bottom of the mounting nut, then remove the mounting nut with an adjustable wrench.

The new sponge gasket might look different from your current one, but that's fine! Korky sponge gaskets can replace almost any shape and thickness. Once everything is removed, you are ready to install the new valve.

Install the New Flush Valve and Sponge Gasket

Once the old valve has been removed, it is time to install the new valve. Make sure to read the instructions. The parts may change based on whether you have a standard 2-inch or large 3-inch tank hole opening.

Standard 2-Inch Instructions

If you have a standard 2-inch toilet, insert the threaded bottom of the valve through the tank hole with the rubber seal inside. Next, Take the chipboard washer and place it over the threads on the outside of the tank. 

Once completed, hand-tighten the mounting nut onto the threads. Next, set the sponge gasket over the mounting nut, ensuring it is secure.

Large 3-Inch Instructions

If you have a larger 3-inch opening, you must measure the tank hole opening with a ruler. If it is smaller than 3 and 7/16", you can simply insert the threaded bottom into the opening and hand-tighten the mounting nut. Be sure to give it an extra 1/4 turn to ensure it is properly tight.

If your tank hole is 3 and 7/16" or larger, you will need to place the black o-ring in the groove of the underside of the flush valve base. This will help center it in the tank hole. Once completed, you can then hand-tighten the mounting nut to the base.

Before setting the sponge gasket over the mounting nut, check to see if your toilet is a Jacuzzi® brand toilet. If it is, check the old sponge gasket before proceeding. If they look the same, you can proceed.

this image shows common toilet brand and model information located on the toilet

If the sponge gasket does not look the same, you may have to cut the beveled bottom of the sponge gasket off and discard it. If you do not do this, it will not create a good seal, causing your tank to leak.

Secure and Adjust the New Flush Valve

Once you install the sponge gasket, set the tank onto the bowl. The gasket might be thicker than the original. This is normal because the design of the sponge gasket allows it to compress.

Next, set the tank bolts through the rubber washers and install them through the bolt holes at the bottom of the tank. Place the metal washers through the tank bolts under the tank, and begin to tighten the hex nuts.

Ask a friend to help by pressing down on the tank evenly when you tighten the bolts. Be sure to alternate sides until the tank is level and stable. Do not over-tighten the nuts, as it can cause the porcelain to crack.

Korky flush valves have an EasyADJUST® telescoping overflow tube that removes hacksawing from your installation. To adjust it, all you need to do is loosen the lock nut and slide the overflow tube up or down.

While adjusting, ensure the overflow tube height is 1/2 inch above the water line, and 1 inch below the flush lever nut. Setting the overflow tube correctly is crucial; if it is too high, water can leak through the hole in the toilet handle and cause flooding.

Finish the Install

Once you have the overflow tube set to the proper height, attach the refill tube to the overflow tube by using the included clip. If the refill tube is too long and creates a kink, trim the tube to the proper length then reattach. 

Next, attach the flapper chain to the tank lever arm. Ensure that only 1-2 chain links are left in slack so the flushing mechanism works correctly. Next, reconnect the water supply line. We do not recommend using sealants or tape. 

When the tank is full, turn the water supply back off and flush the toilet. If the water level is within 1/2 inch of the line you drew at the beginning of the installation, you are all set!

If the water level is not within a half-inch, you will need to adjust your toilet flapper settings. To do so, see the last step in our detailed guide on how to install a toilet flapper.

how to install flush valve video thumbnailhow to install 3 inch flush valve video thumbnail