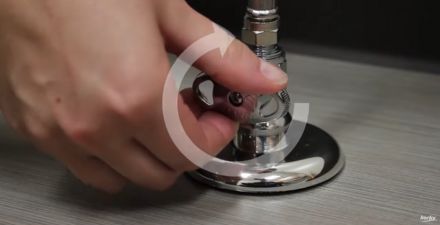
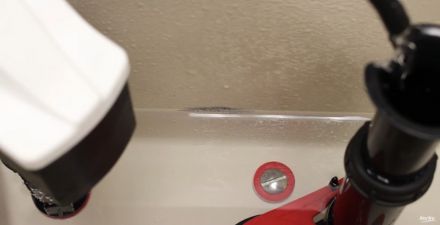
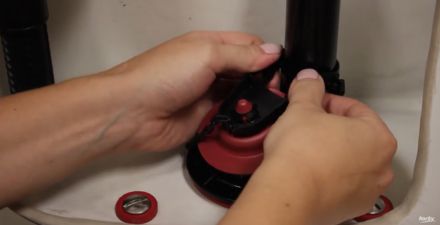
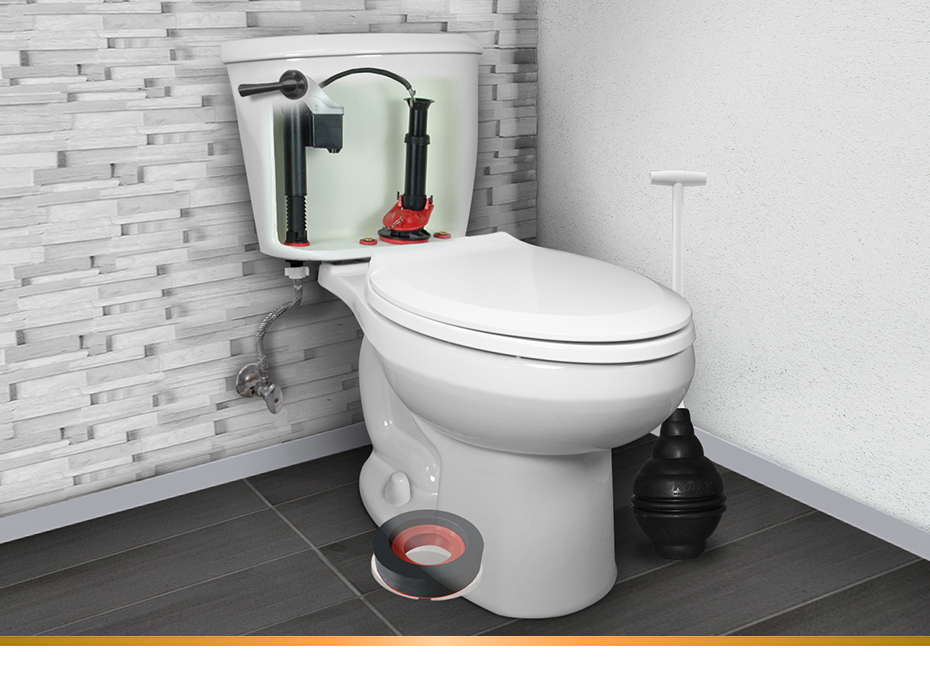
How to Replace Toilet Flapper

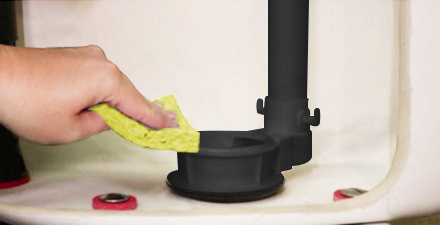
Do you know how to replace a toilet flapper? It is very simple! Replacing a flapper is a normal home maintenance that needs to be done every five to ten years.

Well-water, municipality water, hard water, and cleaning tablets can accelerate the flapper's deterioration over time. 

Fixing a running toilet is the easiest way to conserve water and save money. Most of the time, a leaky flapper is the root cause with a simple solution: replacement. 


Does this describe your toilet issue?

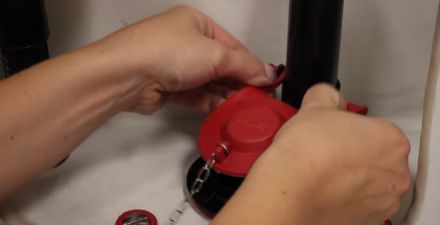
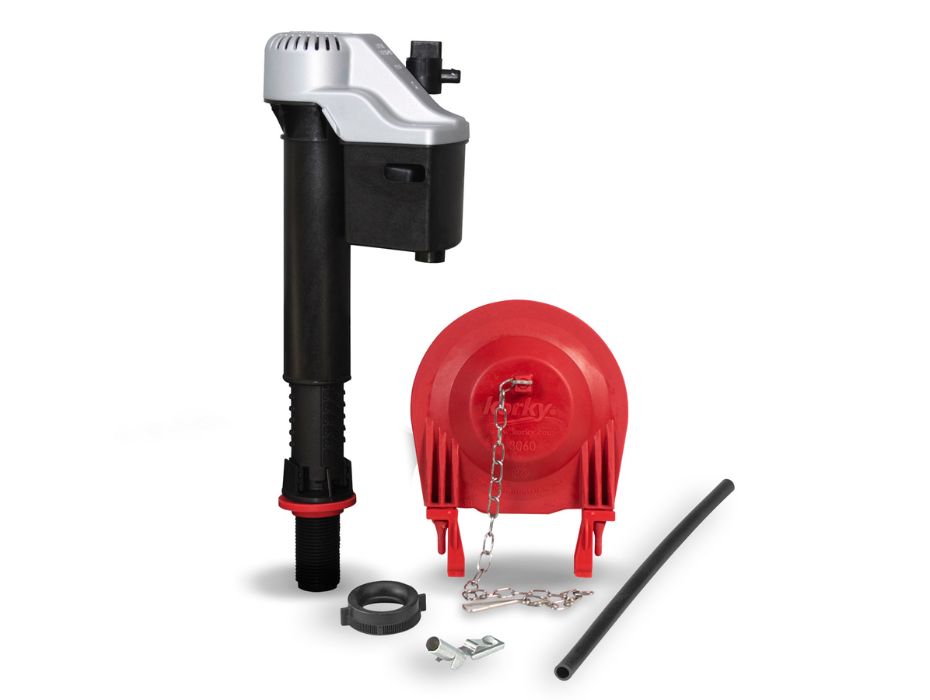
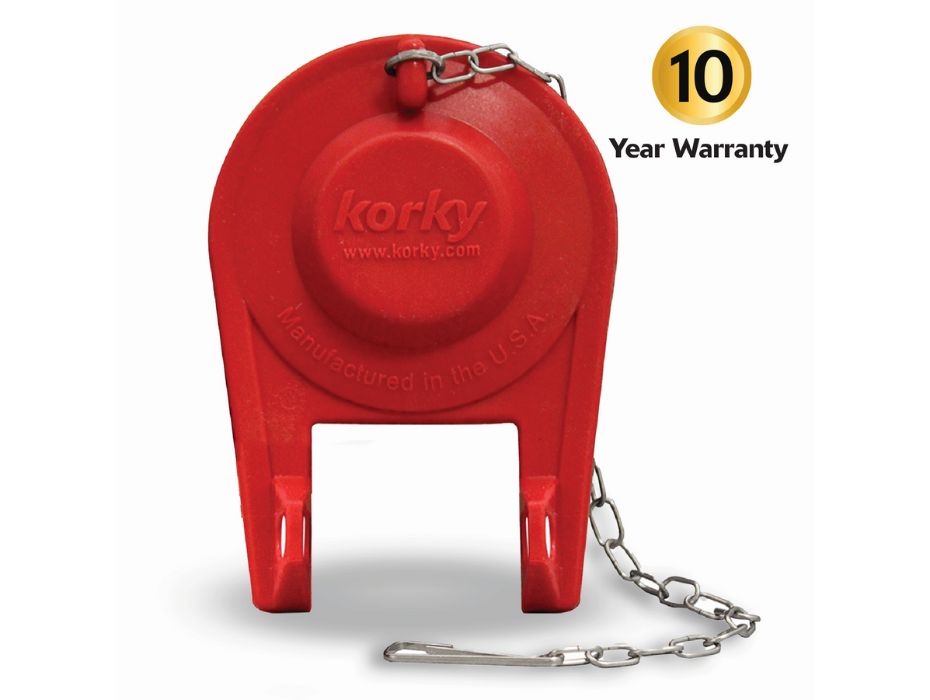
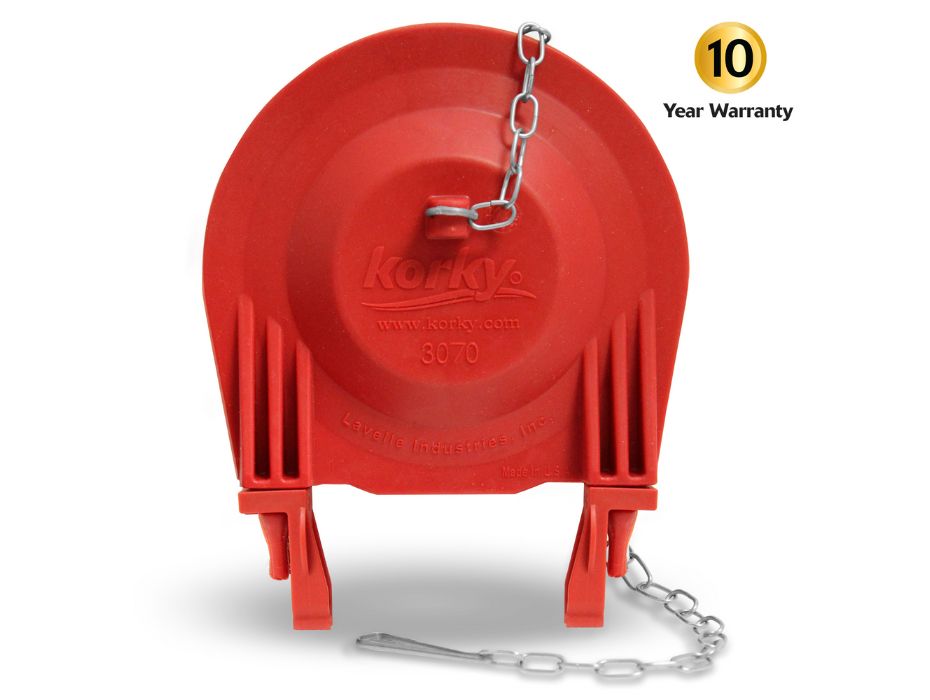
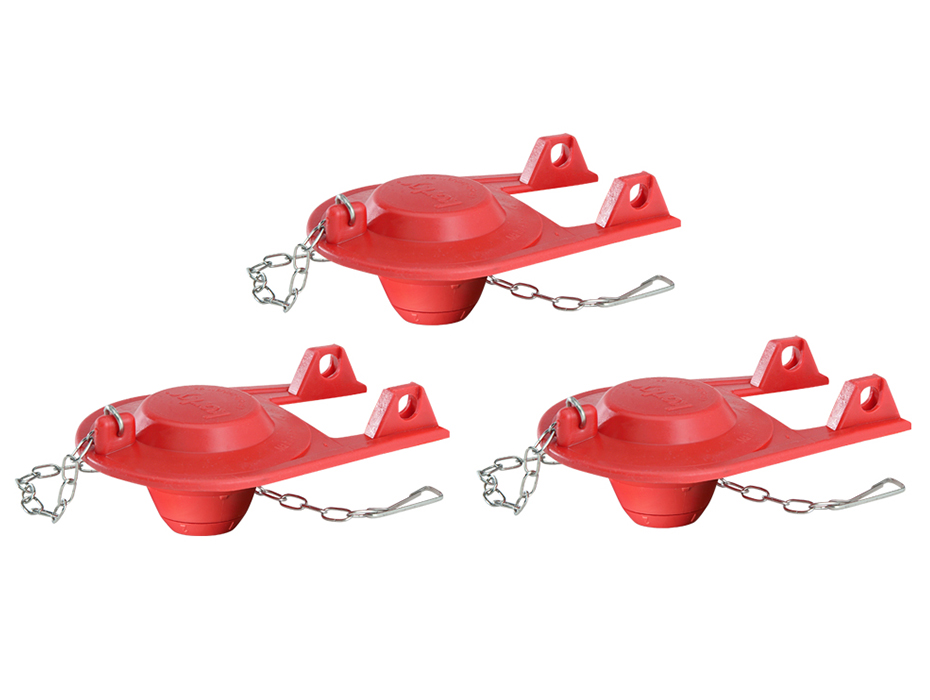
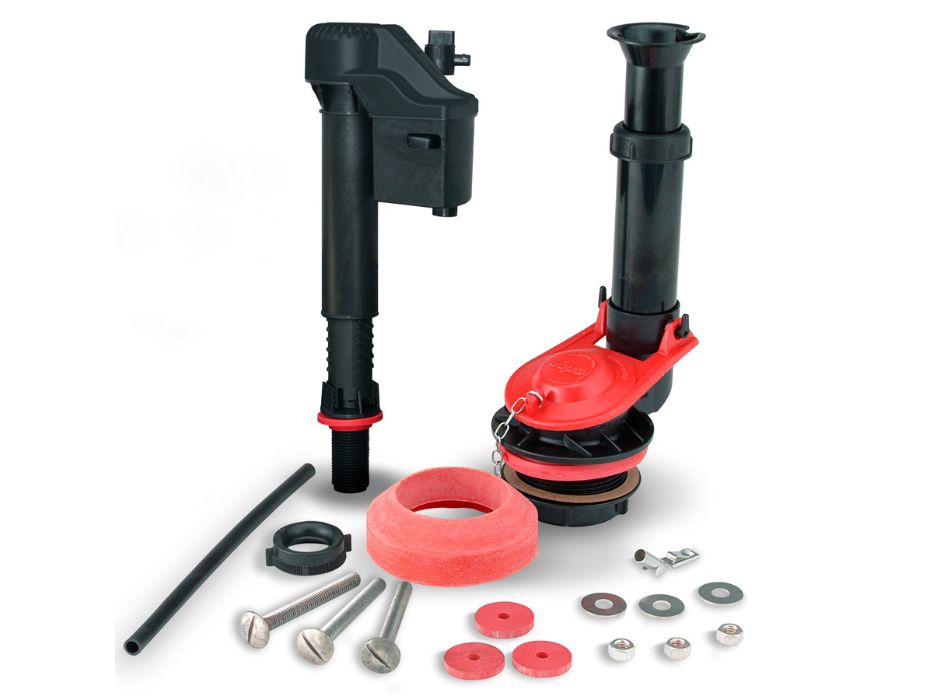
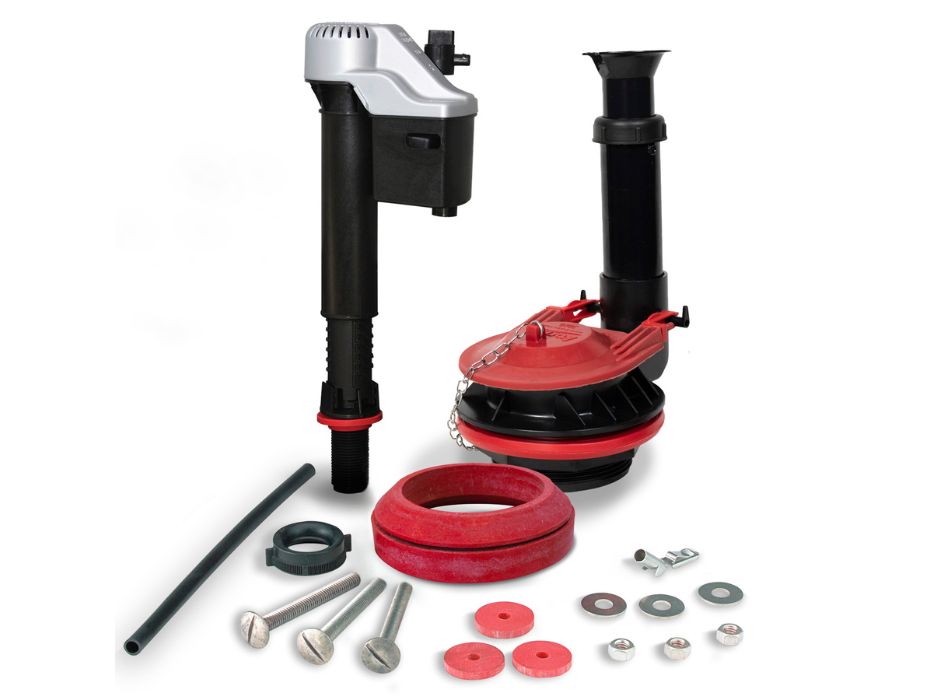
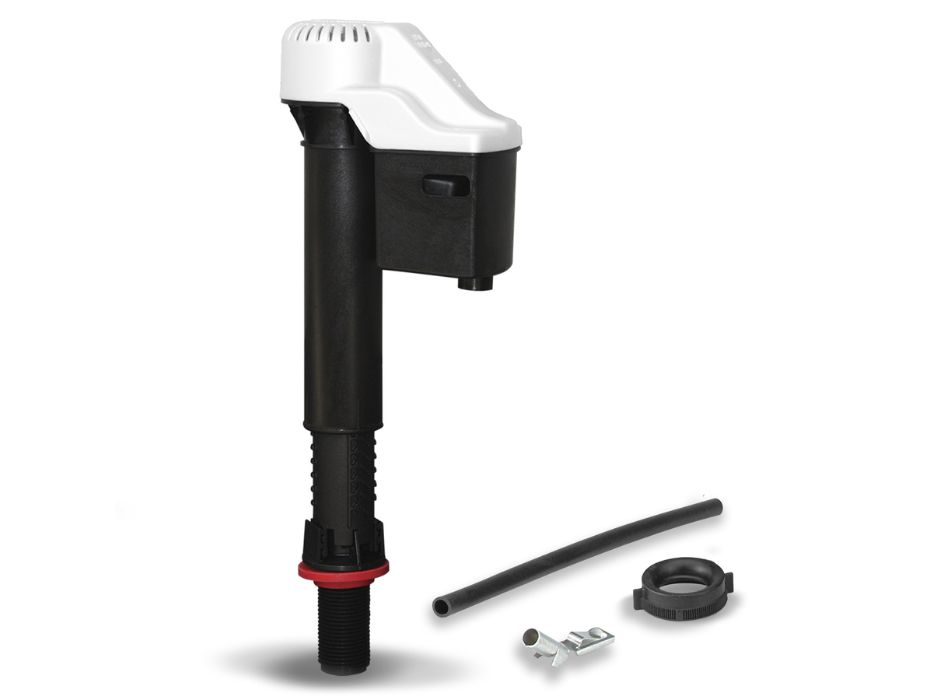
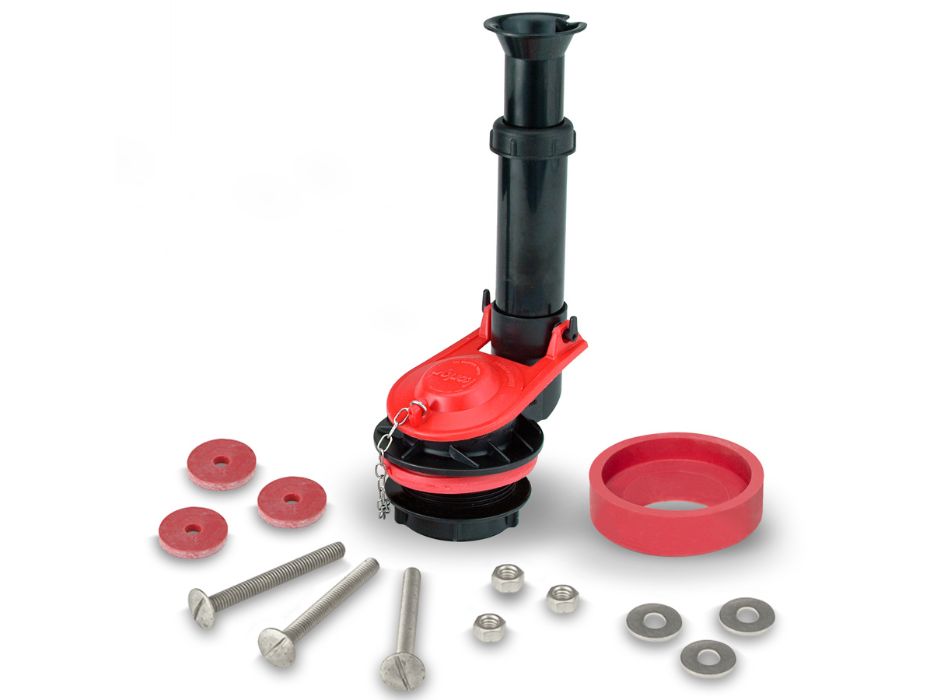
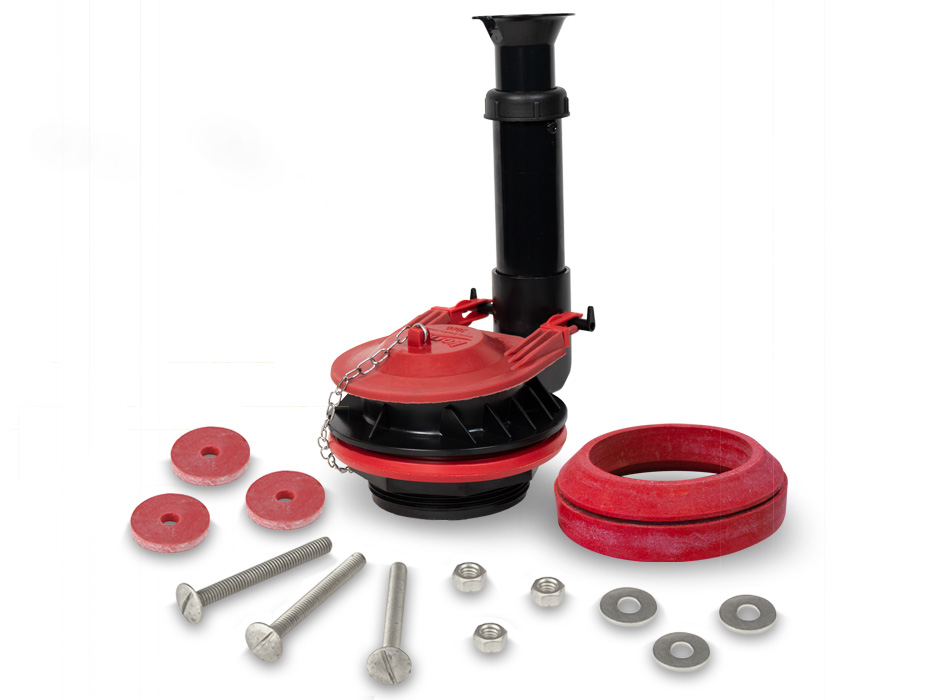
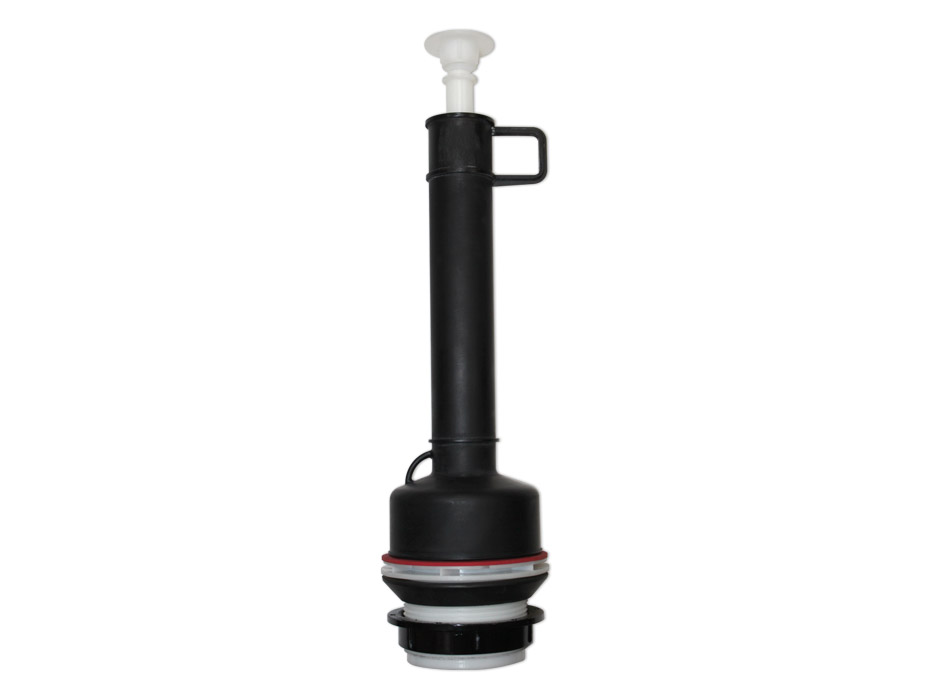
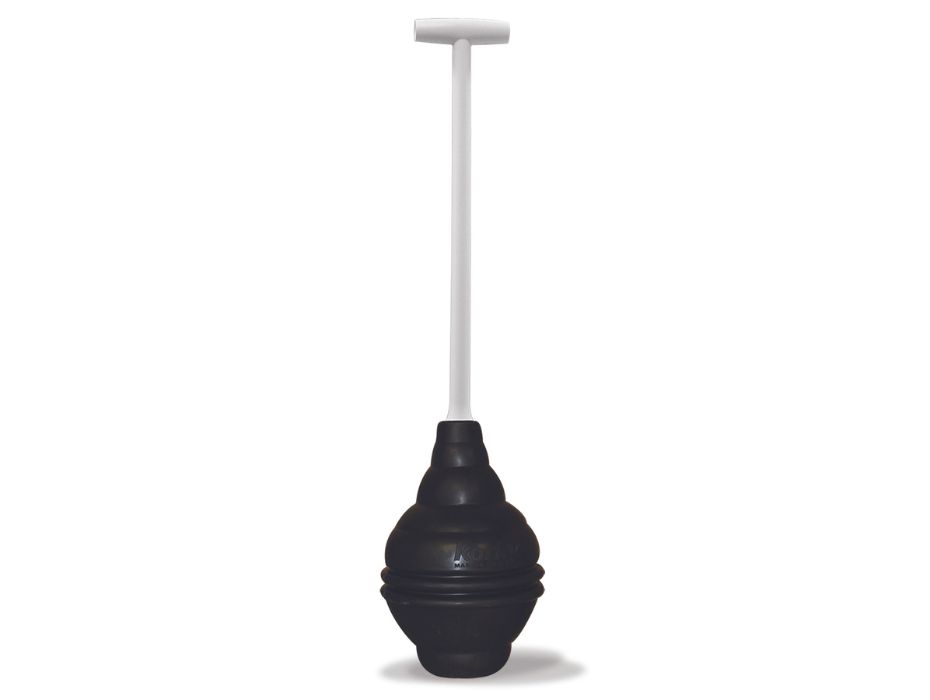
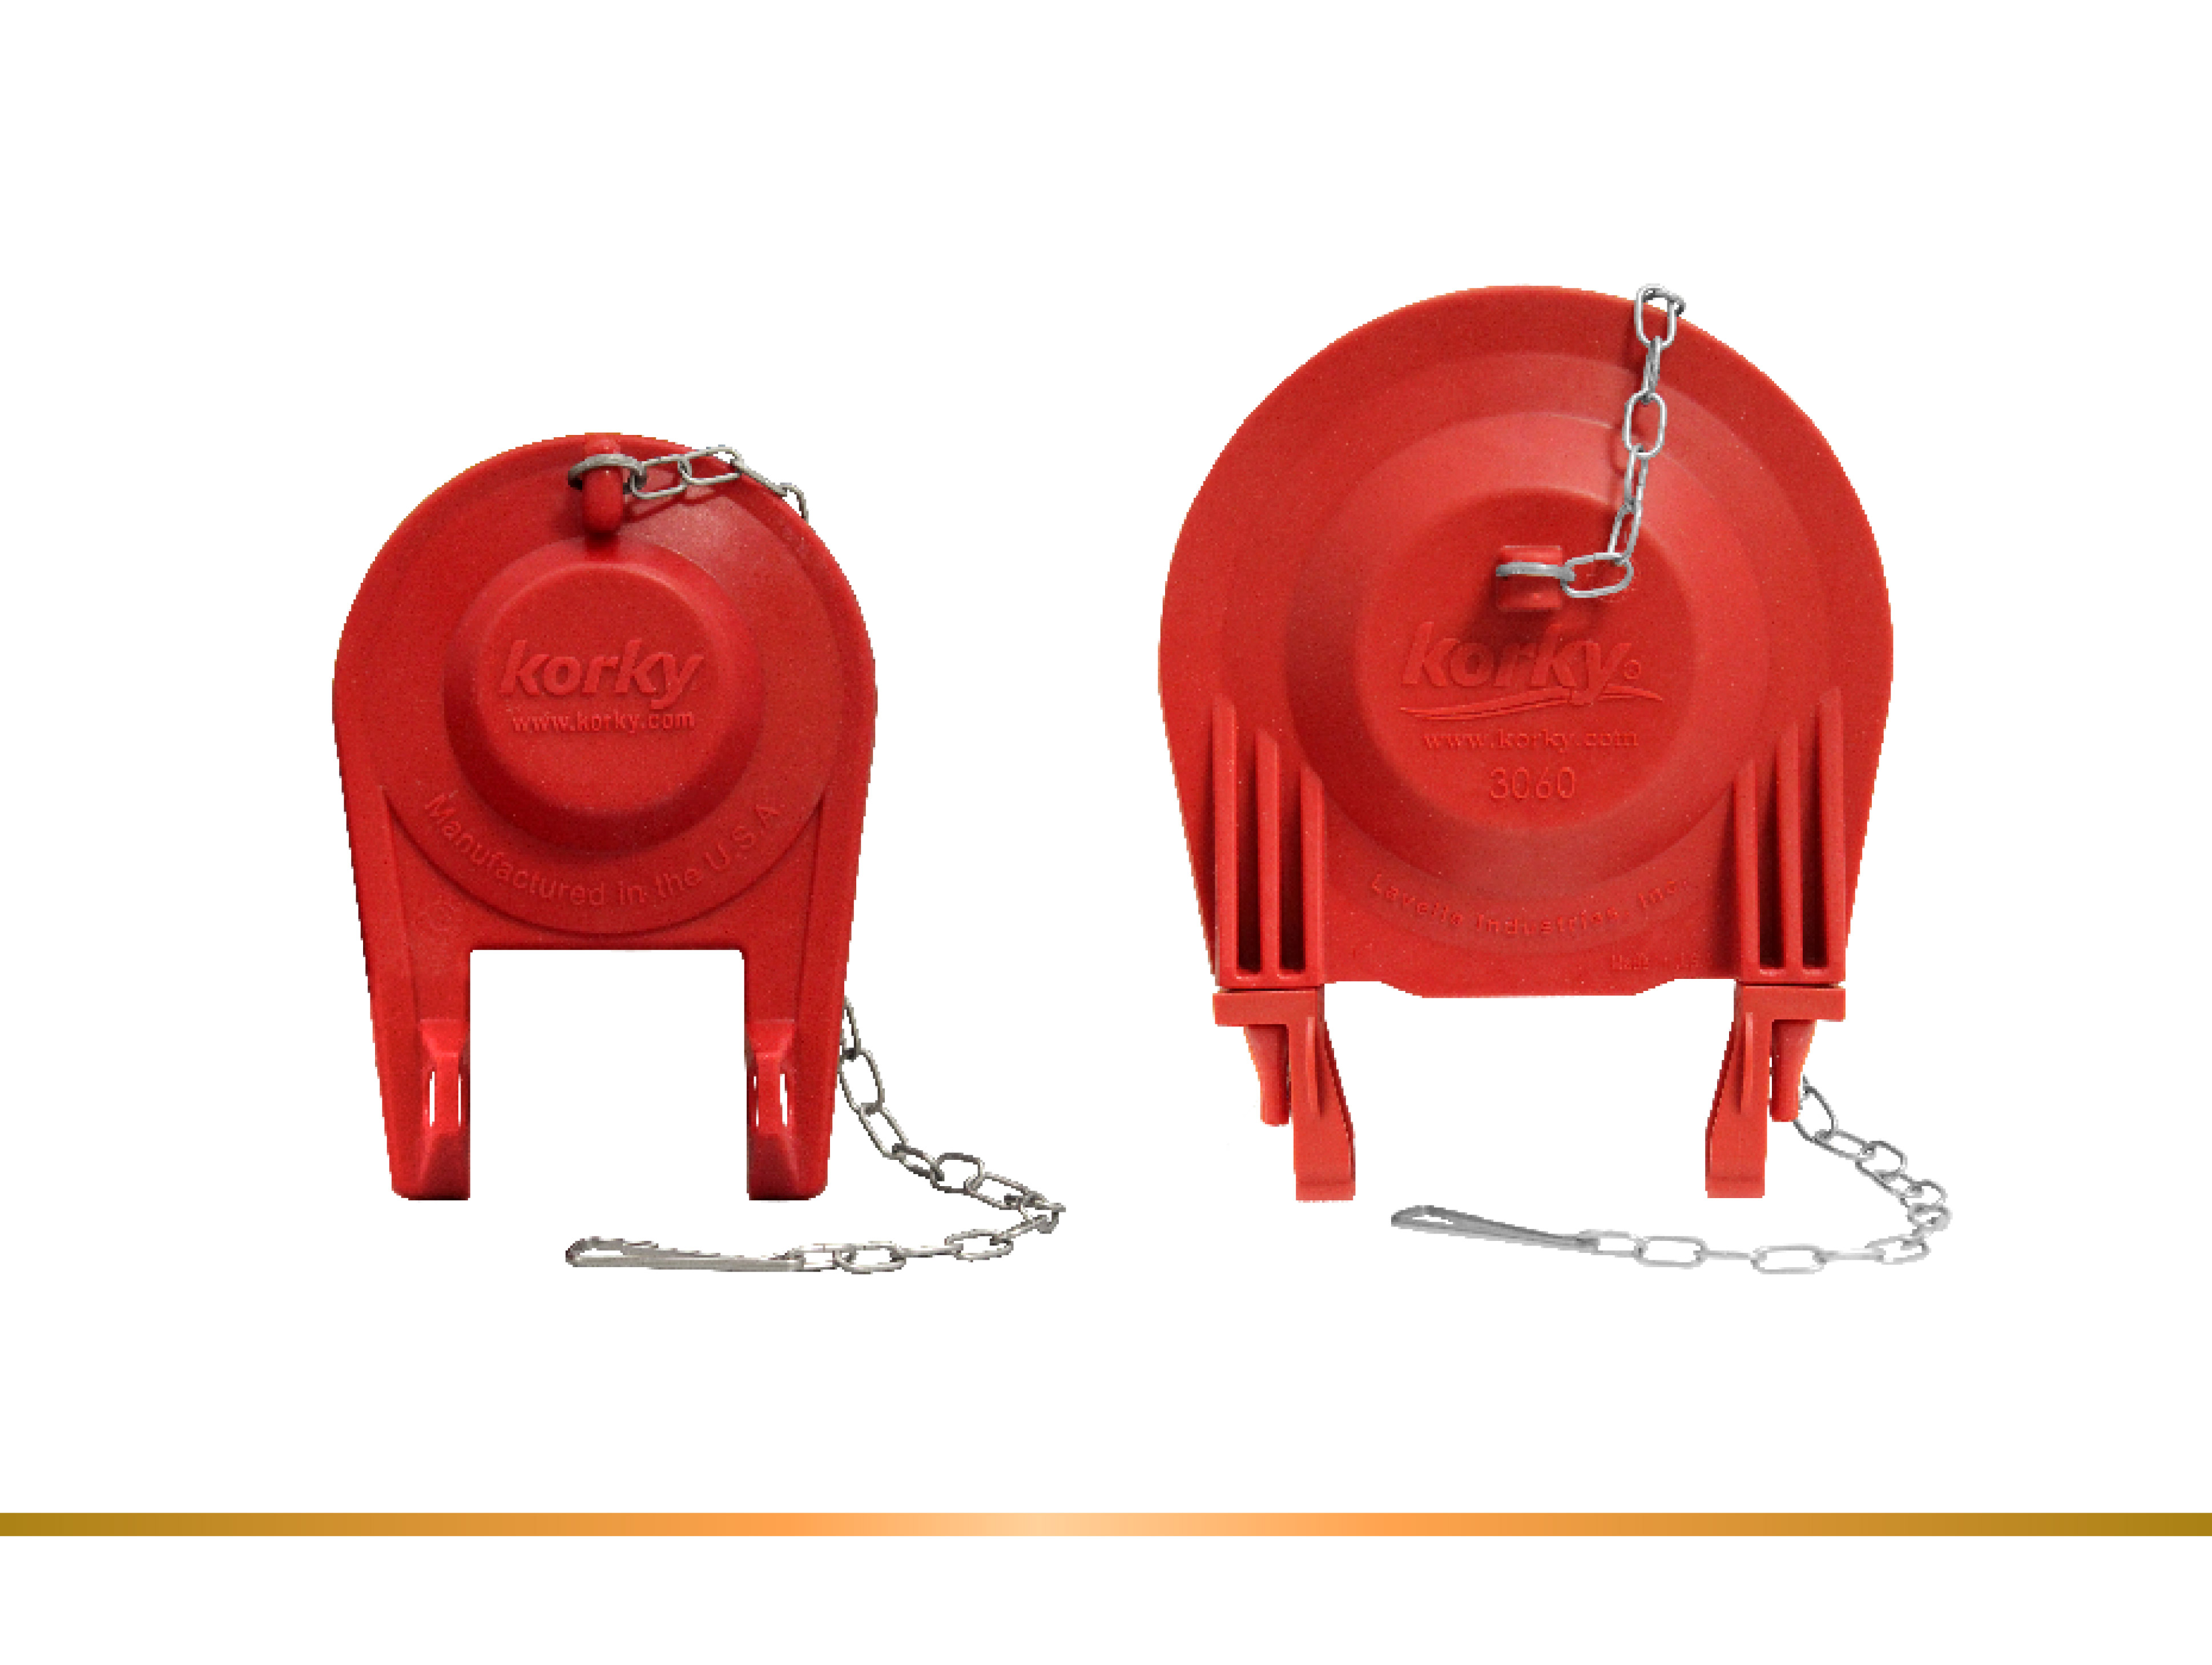
Confirm You Have the Right Flapper

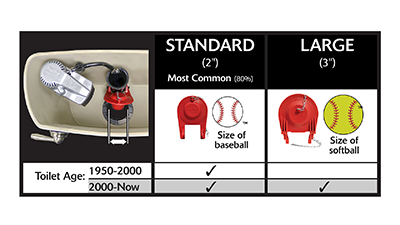
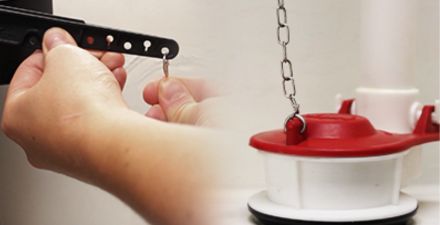
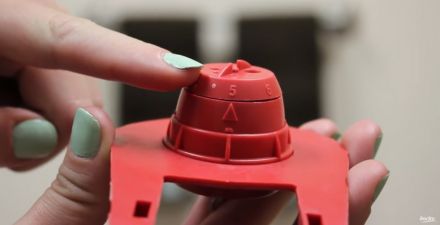
Knowing you have the right flapper for the job is the most important step, as certain toilet flush valve models can require a specific fit.

Universal toilet flappers are the best choice when choosing a flapper, but knowing what size you need before proceeding is crucial. Try reading our guide about determining flapper size for more guidance.

If you are still unsure, try using our Toilet Genius AssistantSM to find a compatible Korky flapper for your toilet. You could also take a picture and compare it to the many different options of Korky toilet flappers that are available online.

flapper size guide

Turn off the Water Supply

This should come as no surprise, but turning your water supply off while replacing a toilet flapper is important for a few reasons. Having room to work in the tank without running water is the most obvious, while another benefit would be for water conservation.

To start, turn off the water supply by turning the handle counterclockwise until the valve is fully closed. Then flush the toilet as you normally would, and mark where the water level drops inside the tank with a pencil. This step will be important later. 

To drain the rest of the water, flush your toilet and hold the flush handle until the water is drained. 

turn off water supply


Remove the Old Flapper

Flappers can degrade for numerous reasons. The water quality in your toilet tank is a major factor in why they can last longer or shorter. City water treatment, hard water, and well water have different levels of corrosion that might shorten the lifespan.

Another factor in the lifespan of your flapper is the use of chemical cleaning tablets. These tablets are highly corrosive, and cause the rubber to deteriorate faster than normal. We recommend using cleaners designed to work inside the bowl to avoid unnecessary damage to the toilet tank parts.

Removing the old flapper is simple, all you have to do is unhook both flapper ears from the flush valve arms and unhook the chain from the flush lever.

remove the old flapper

Install the New Toilet Flapper

Installing a new toilet flapper is easy. Start by placing it in the flush valve opening, and hooking each ear onto the arms located on the side of the flush valve base.

When you finish, connect the flapper chain to the tank lever arm. Be sure only to leave one to two chain links in slack. If the chain is too loose, the flapper will not open all the way, resulting in a weak flushing toilet. The chain is too tight, your flush valve will not seal properly, causing your toilet to continue running. 

Once this step is completed, turn on your water supply.

install the new toilet flapper

Adjust the Flapper Settings

Some Korky flappers can be adjusted to match your original toilet's settings. Don't worry, this is not difficult to do! If you do not have an adjustable flapper, do not proceed to the next steps.

Turn your water supply back off, then flush. If the water level falls at or below one-half inch of the pencil mark inside of the tank, your installation is complete!

If the water level is above the pencil mark, turn the red or white band to the next highest number. This will close off the holes and allow the flapper to float longer, resulting in a longer flush. 

Repeat this process until your water drops within a half inch of the pencil mark.

How to Install Ultra 2X Toilet Flapper by KorkyHow to Install a 2X Long Life Large 3 Inch Flapper video